
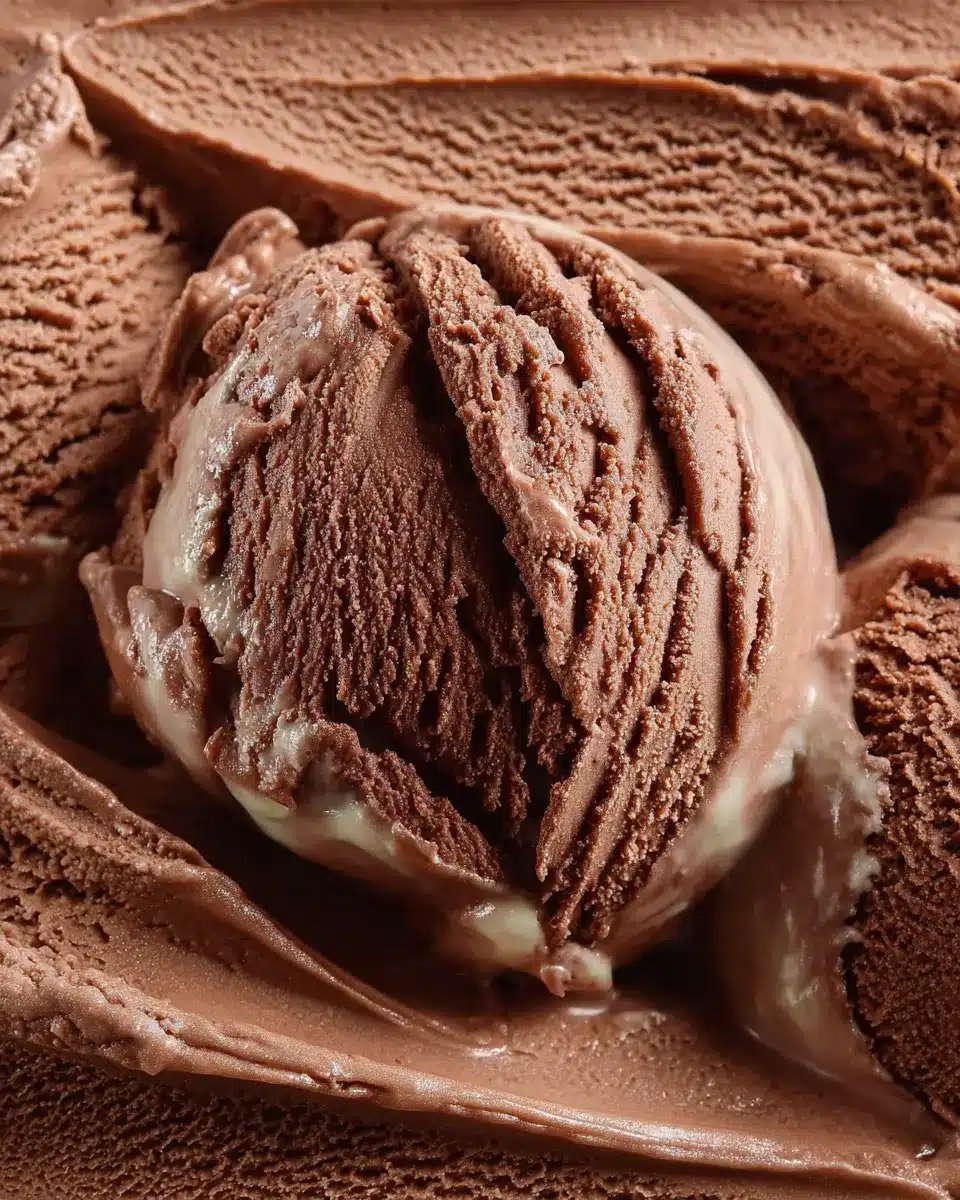
Introduction to No Machine Creamy Chocolate Ice Cream
When it comes to enjoying a delightful scoop of chocolate ice cream, nothing beats the taste of homemade goodness. This is where our no machine creamy chocolate ice cream recipe becomes a game changer. Imagine crafting your very own ice cream right in the comfort of your kitchen—it's an experience that brings joy to both the cook and those indulging in the treat.
Why Homemade Ice Cream is a Game Changer
Choosing to make ice cream at home allows you to customize flavors and control ingredients, ensuring a healthier and more satisfying dessert. There’s something uniquely special about knowing what goes into your ice cream; you can select quality ingredients and avoid unnecessary additives that store-bought versions often contain.
And let’s not forget texture! Homemade ice cream tends to have a richer, creamier consistency. According to the Ice Cream Association, over 9% of Americans have enjoyed homemade ice cream in the past year, showcasing its popularity. Making ice cream without a machine also opens doors for creativity—try incorporating your favorite mix-ins like nuts, cookies, or even Turkey Bacon for a fun twist!
So roll up your sleeves and let’s get started! Your next cool, creamy chocolate adventure awaits right here—because everyone deserves a little homemade joy.
Ingredients for No Machine Creamy Chocolate Ice Cream
Creating your own no machine creamy chocolate ice cream at home is an exciting and rewarding endeavor! Here’s what you’ll need for this deliciously rich dessert:
-
Sweetened Condensed Milk: 12 ounces – This ingredient adds a wonderful creaminess and sweetness to your base. Fat-free versions work just fine if you're looking to cut back on calories.
-
Evaporated Milk: 14 ounces – Another rich component, it enhances the texture while keeping the ice cream wonderfully smooth. Not a fan of the calorie count? Go for the fat-free alternative!
-
Half and Half: 1 cup – Essential for that indulgent creaminess, it’s best not to use a fat-free version here—trust me, it’s worth it!
-
Vanilla Extract: 1 ¼ teaspoons – Just a touch brings out all the chocolatey goodness in your ice cream.
-
Cocoa Powder: ½ cup sifted – I recommend using a mix of regular and Dutch-processed cocoa for a more complex flavor, but regular unsweetened works well too.
-
Whipped Cream (optional) – For an additional layer of indulgence, feel free to add a dollop on top when serving.
-
Sprinkles (optional) – Because who doesn’t love a little extra color and fun?
With these ingredients, you’re just a few steps away from enjoying your own homemade delight! For more tips on how to customize your ice cream, check out this expert's guide on ice cream-making. Now, let's make some ice cream magic!
Preparing No Machine Creamy Chocolate Ice Cream
Making no machine creamy chocolate ice cream is a breeze, and you’ll find yourself craving those rich, velvety scoops in no time. Whether you’re cooling off on a hot afternoon or looking for a sweet treat to impress your friends, this easy-to-follow guide will take you through each step of homemade ice cream perfection.
Gather Your Ingredients
Your journey to luscious chocolate ice cream begins with the right ingredients. Here’s what you’ll need:
- 12-ounce can of sweetened condensed milk (fat-free also works)
- 14-ounce can of evaporated milk (fat-free is an option too)
- 1 cup of half and half (make sure it’s not fat-free for the creamy texture!)
- 1 ¼ teaspoons of vanilla extract
- ½ cup of sifted cocoa powder (mixing regular with Dutch processed cocoa can elevate flavors)
- Optional: whipped cream or whipped topping for garnish and sprinkles for a fun touch
These simple ingredients not only create a wonderful chocolate ice cream but also allow you to avoid any fancy machines or complicated processes.
Whisk It All Together
In a large mixing bowl, it’s time to combine your ingredients. Start with the sweetened condensed milk and evaporated milk, then add in the half and half, vanilla extract, and sifted cocoa powder.
Whisk thoroughly until the mixture is well-blended and smooth—this is key for ensuring your ice cream is lump-free, which can enhance the overall texture. If you haven’t already sifted your cocoa powder, now is the moment! A smooth base is essential for achieving that rich, creamy consistency.
Prepare for Freezing
Once everything is well mixed, pour your luscious chocolate concoction into a loaf pan or a suitable ice cream container. To prevent ice crystals and freezer burn from ruining your creation, press plastic wrap securely against the surface of the mixture. This simple tip makes a big difference in your final product!
Freeze and Wait Patiently
Patience is a virtue, and this is where it comes into play as you freeze your no machine creamy chocolate ice cream. Pop your container in the freezer for at least 7 hours. During this time, it’s tempting to keep checking, but resisting the urge will reward you with creamy perfection in the end!
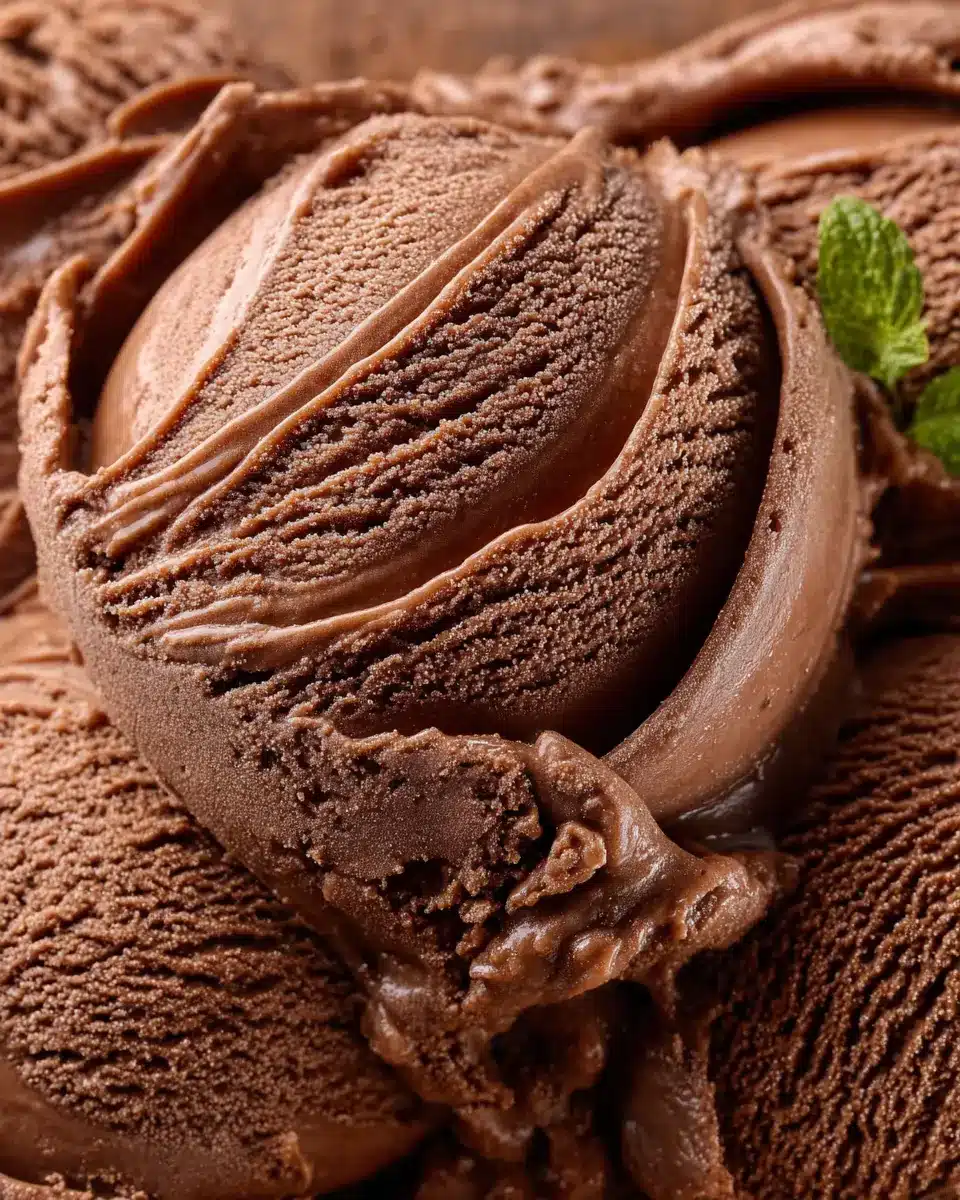
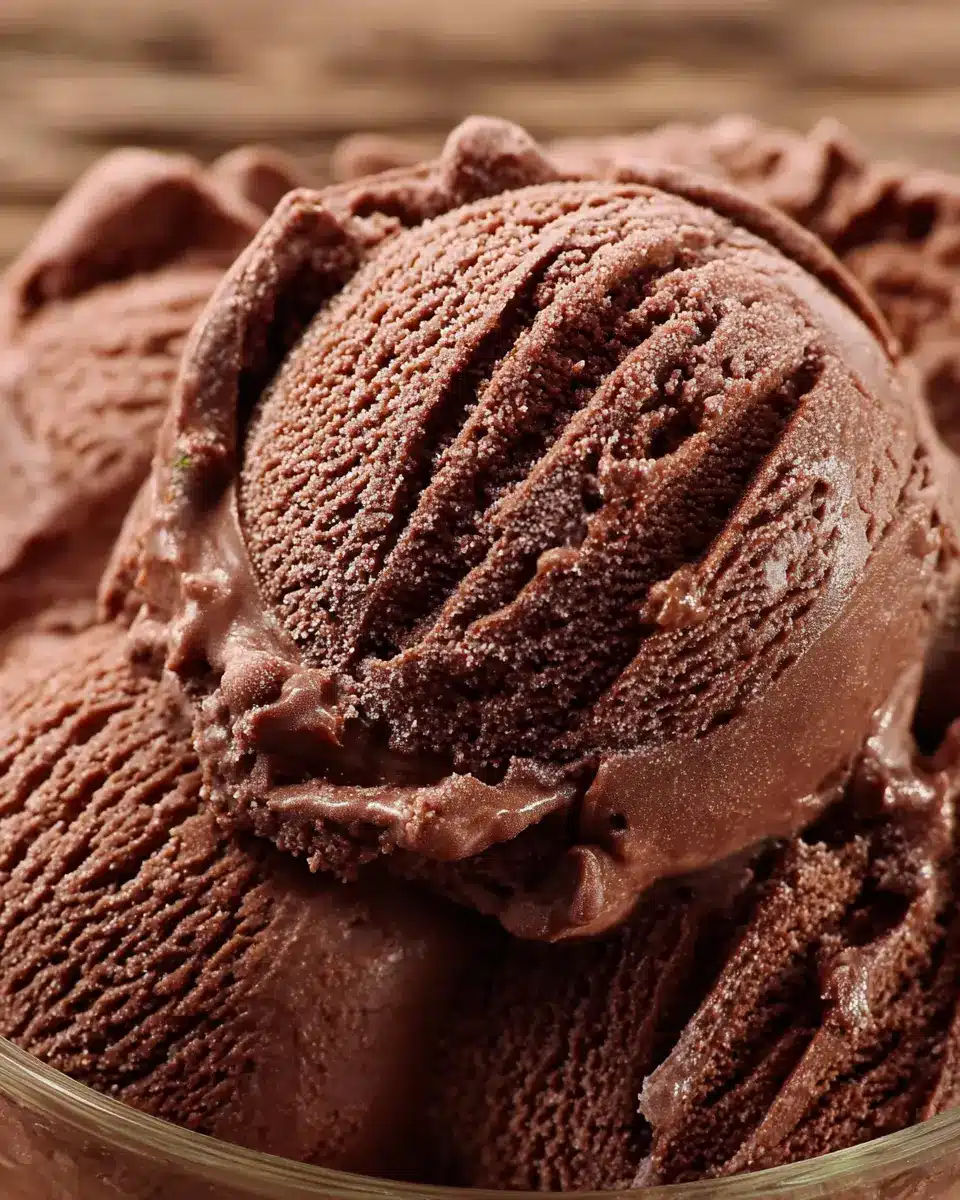
Serve Deliciously Creamy Scoops
When you’re ready to dig in, take the ice cream out of the freezer. You might find it quite firm right out of the freezer—don’t worry! Just let it sit for a few minutes to soften slightly, making it easier to scoop. Serve your ice cream in bowls or cones, and don’t forget those optional toppings like whipped cream or sprinkles for an extra special touch.
Now you’re ready to dive into a bowl of decadent chocolate goodness! Homemade no machine creamy chocolate ice cream is not just a dessert; it’s a delightful experience. Enjoy every satisfying spoonful! For more delightful ice cream recipes, check out resources like Food Network and Serious Eats.
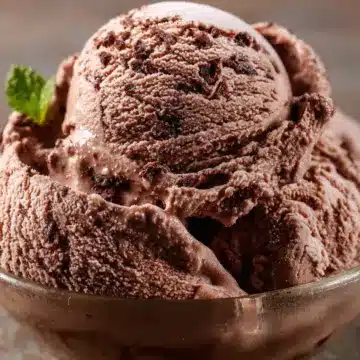
Variations on No Machine Creamy Chocolate Ice Cream
Transform your no machine creamy chocolate ice cream into something extraordinary with a few simple variations! Here are two delightful options to elevate your dessert experience.
Mint Chocolate Chip Twist
If you’re a mint lover, add a refreshing twist to your ice cream by mixing in a few drops of peppermint extract and stirring in mini chocolate chips. The coolness of mint complements the rich chocolate, creating a balanced, invigorating treat that’s perfect for warm evenings.
Nutty Chocolate Delight
For a nutty flavor explosion, fold in finely chopped nuts like walnuts or hazelnuts just before freezing. You can even drizzle in some chocolate or hazelnut spread for extra creaminess! This variation adds texture and makes your no machine creamy chocolate ice cream a truly indulgent experience.
Whether you prefer a refreshing mint flavor or the crunch of nuts, these variations can easily take your ice cream game to the next level!
Cooking Tips and Notes for No Machine Creamy Chocolate Ice Cream
Making no machine creamy chocolate ice cream at home is fun and incredibly rewarding! Here are some expert tips to ensure your ice cream turns out perfectly every time.
-
Whisk Well: When mixing your ingredients, make sure to whisk thoroughly to combine everything smoothly. This helps avoid any lumps from the cocoa powder, which can impact texture.
-
Sift Cocoa Powder: Definitely sift your cocoa before adding it to the mix. It makes a noticeable difference, elevating the creaminess of your ice cream.
-
Cover Properly: Use plastic wrap directly on the ice cream surface before freezing. This simple step prevents freezer burn and keeps your treat silky smooth.
-
Serve at the Right Temperature: After freezing for at least 7 hours, let your ice cream soften for a few minutes before scooping. This makes serving a breeze!
For more ice cream inspiration, check out The Ice Cream Revolution for a variety of delightful flavors!
Serving Suggestions for No Machine Creamy Chocolate Ice Cream
When you whip up this delightful no machine creamy chocolate ice cream, you’re not just creating a treat; you’re setting the stage for a perfect dessert experience. Here are some tasty ways to serve it:
-
Sundae Style: Top each scoop with hot fudge, chopped nuts, or even fresh berries to add a delightful twist to your ice cream.
-
Ice Cream Sandwiches: Grab your favorite cookies, add a generous scoop of your chocolate ice cream in between, and enjoy a nostalgic treat.
-
In a Milkshake: Blend a few scoops with a splash of milk for a rich chocolate milkshake that'll take you back to your childhood.
Don’t forget to adorn your creations with whipped cream and colorful sprinkles for that extra flair! For more inspiration, check out this guide on dessert plating. Let your creativity shine!
Time Breakdown for No Machine Creamy Chocolate Ice Cream
For those craving a luscious dessert without the fuss of an ice cream maker, our no machine creamy chocolate ice cream is the perfect option! Here’s how your time will be spent while making this indulgent treat:
Preparation Time
Taking only about 10 minutes, this recipe is a breeze! Just whisk the ingredients together, and you're all set to move on to the next step.
Freezing Time
The ice cream needs at least 7 hours in the freezer. It’s best to prepare it a day ahead so you can dive into a creamy chocolate delight the next day.
Total Time
In total, you're looking at 7 hours and 10 minutes to this delicious goodness! Plan a cozy movie night or a chill hangout with friends, and treat yourself to homemade dessert perfection.
Need more tips on freezing techniques? Check out this helpful article on freezing homemade ice cream for additional insights!
Nutritional Facts for No Machine Creamy Chocolate Ice Cream
Calories
Each serving of this delightful no machine creamy chocolate ice cream contains approximately 299 calories. This richness comes from the combination of sweetened condensed milk and half-and-half, which makes every spoonful feel indulgent without the need for an ice cream maker!
Sugar Content
If you have a sweet tooth, you’ll appreciate the sugar content in this frozen treat. Each serving has around 27 grams of sugar. While it’s the perfect dessert to satisfy your cravings, considering portion sizes is wise—especially if you're keeping an eye on your sugar intake.
Fat Content
Packed with creamy deliciousness, every serving contains about 15 grams of fat, largely thanks to the half-and-half. While it’s a higher fat ice cream option, remember that moderation is key! Enjoying a scoop occasionally can fit nicely into a balanced diet.
If you're curious about more nutritional insights, check out Healthline for guidance on enjoyable ways to maintain a healthy lifestyle. Happy indulging!
FAQ about No Machine Creamy Chocolate Ice Cream
How can I make the ice cream even creamier?
To achieve an ultra-creamy texture in your no machine creamy chocolate ice cream, focus on the ratio of ingredients. Consider adding an extra ¼ cup of half and half or a touch more sweetened condensed milk for added richness. You can also fold in some heavy cream if you want an even silkier mouthfeel. Another tip? Ensure your mixture is well-blended for a consistent texture!
Can I use a different flavor of cocoa?
Absolutely! While this recipe calls for a blend of regular and Dutch-processed cocoa powder, feel free to experiment with different flavors. Try substituting with spiced cocoa, or even white chocolate cocoa powder for a unique twist. Just remember that the cocoa’s quality significantly affects the final taste, so choose a brand you enjoy!
How long does homemade ice cream last in the freezer?
Homemade no machine creamy chocolate ice cream can last about two weeks in the freezer. To maintain its freshness, make sure it's stored in an airtight container and cover it with plastic wrap before sealing. If you notice ice crystals forming, it might be time to eat it up! For more tips on ice cream storage, check out sources like the Food Safety and Inspection Service.
Conclusion on No Machine Creamy Chocolate Ice Cream
In summary, making your own no machine creamy chocolate ice cream is not only a fun kitchen project but also a delightful way to indulge in a sweet treat. With just a few simple ingredients and minimal effort, you can savor rich, creamy chocolate ice cream that's perfect for any occasion. So gather your friends, whip up this easy recipe, and enjoy the joys of homemade ice cream! For more delicious recipes or tips, check out this guide to homemade desserts.
No Machine – Creamy Chocolate Ice Cream
Equipment
- large bowl
- whisk
- loaf pan or ice cream container
Ingredients
Milk Ingredients
- 12 ounce sweetened condensed milk fat free also works
- 14 ounce evaporated milk fat free also works
- 1 cup half and half not fat free
Flavoring Ingredients
- 1.25 teaspoon vanilla extract
- 0.5 cup sifted cocoa powder mix of regular and Dutch processed or just regular unsweetened
Optional Toppings
- whipped cream or whipped topping optional
- sprinkles optional
Instructions
Preparation Steps
- In a large bowl whisk all ingredients until nicely combined. Remember to sift the cocoa powder or there will be lumps in the ice cream.
- Pour into a loaf pan or ice cream container. Place plastic wrap right on the surface of the ice cream. This helps prevent freezer burn. It is an important step.
- Freeze for at least 7 hours.
- When you take your ice cream out of the freezer it will be very firm. You may want to wait a few minutes to soften the ice cream up a bit and for easier scooping. Enjoy!

Leave a Reply