
Introduction to Homemade Banana Pudding
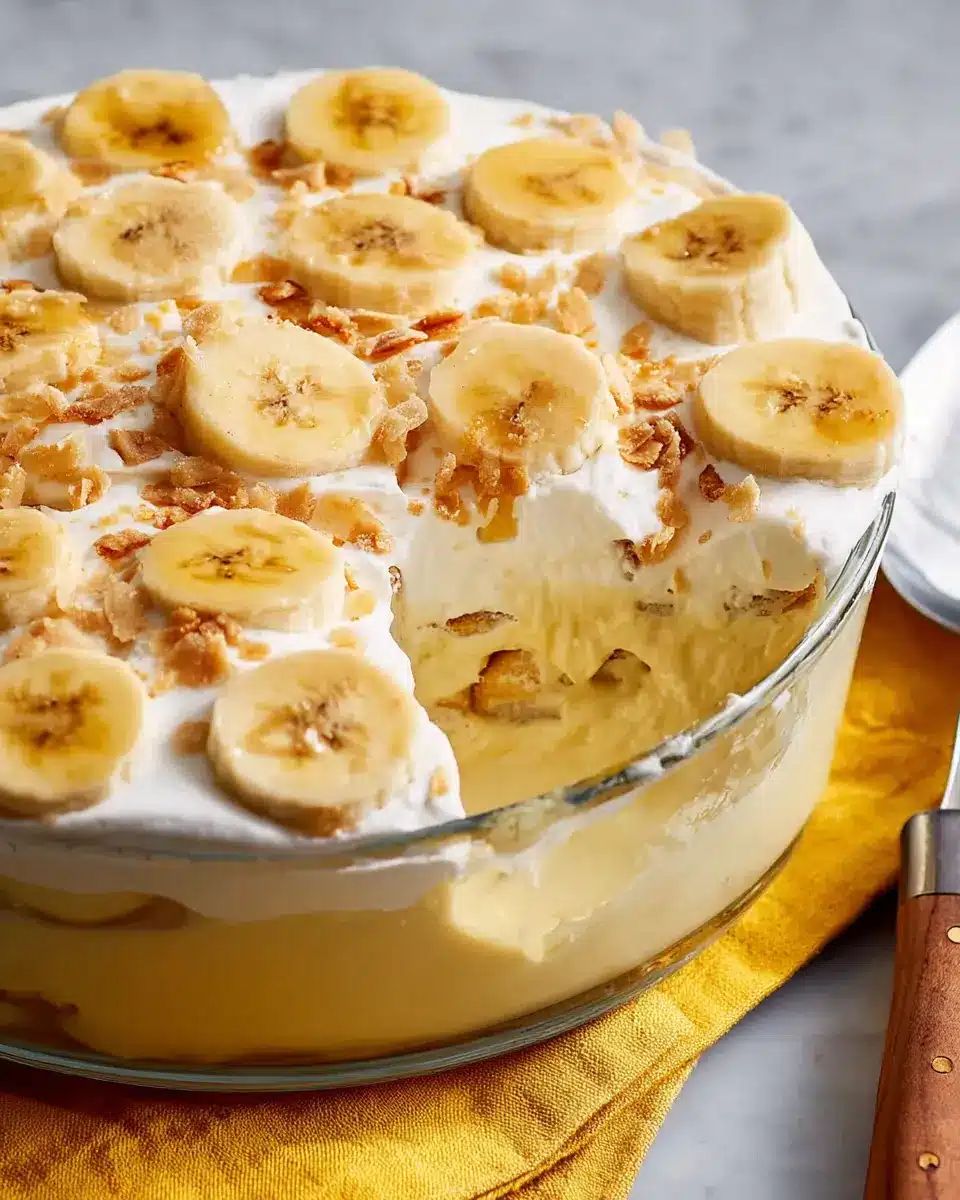
There’s something undeniably comforting about homemade banana pudding. For many, it’s a nostalgic treat that transports us back to childhood, evoking memories of family gatherings and sunny afternoons spent savoring a scoop of this creamy delight. But what makes homemade banana pudding so special?
First, let’s think about the ingredients. Unlike the store-bought versions, which are often loaded with preservatives, homemade banana pudding allows you to embrace pure, natural flavors. The combination of ripe bananas, fluffy vanilla wafers, and velvety pudding creates a perfect harmony that awakens the senses. It’s a culinary experience that not only delights the palate but also warms the heart.
Many people enjoy making this dessert from scratch because it becomes a family tradition; just like my grandmother did. As noted by experts at Food Network, taking the time to create something by hand elevates the enjoyment and transforms a simple dessert into a labor of love.
So, whether you’re planning a gathering or simply craving a comforting dessert, homemade banana pudding is your go-to choice. Its rich, creamy texture and sweet banana flavor are sure to be a hit with everyone at the table!
Ingredients for Homemade Banana Pudding
Essential ingredients for a delightful pudding
Creating the ultimate homemade banana pudding starts with a few essential ingredients that come together to create a creamy, dreamy dessert. Here’s what you’ll need:
- ⅔ cup white sugar: Sweetness is key, and sugar helps balance the flavors.
- ⅓ cup all-purpose flour: This thickens the pudding to that perfect, luscious consistency.
- ¼ teaspoon salt: A pinch of salt enhances the sweet taste.
- 3 large eggs, beaten: These are crucial for achieving a rich, custardy texture.
- 2 cups milk: Whole milk works best, but feel free to use a non-dairy alternative.
- 2 tablespoons butter, softened: Adds richness.
- ½ teaspoon vanilla extract: For that wonderful aroma.
- 2 ripe bananas, peeled and sliced: The star of the show!
- ½ (12 ounce) package vanilla wafer cookies: These create delightful layers.
Optional add-ins that elevate the flavor
To take your homemade banana pudding to the next level, consider adding some optional ingredients:
- Heavy cream: Whipped and folded into the pudding for extra creaminess.
- Nutmeg: A pinch adds a warm, spicy note.
- Bourbon or rum: For those who prefer a kick, just a splash can enhance the flavor beautifully.
Each of these choices can transform your banana pudding into a signature dessert at any gathering. So, what are you waiting for? Grab your ingredients! Interested in more delightful recipes? Check out this great resource for additional inspiration.
Preparing Homemade Banana Pudding
Making your own homemade banana pudding is a delightful experience that transports you back to simpler times. Let’s break it down into approachable steps that will ensure you create a satisfying, creamy dessert your family will cherish.
Gather All Ingredients and Tools
Before diving into cooking, it’s important to gather all ingredients and tools you'll need. Here’s what you’ll require:
-
Ingredients:
-
⅔ cup white sugar
-
⅓ cup all-purpose flour
-
¼ teaspoon salt
-
3 large eggs (beaten)
-
2 cups milk
-
2 tablespoons butter (softened)
-
½ teaspoon vanilla extract
-
2 bananas (peeled and sliced)
-
½ (12 ounce) package vanilla wafer cookies
-
Tools:
-
Medium saucepan
-
Whisk
-
Wooden spoon or spatula
-
Large serving dish
Having everything organized ahead of time makes the process smoother and lets you focus on enjoying the cooking experience.
Combine Dry Ingredients in a Saucepan
Begin by combining the dry ingredients in your medium saucepan. Add the sugar, flour, and salt, then mix them together. This combination creates the base for your homemade banana pudding, thickening it to that perfect creaminess we all love.
Whisk in Eggs and Milk for a Creamy Base
Once the dry ingredients are well-mixed, it’s time to whisk in the beaten eggs and milk until everything is smooth. This step is essential, as it forms the creamy foundation of your pudding. The delicate balance of eggs and milk gives your dessert its signature richness.
Cook Until Thick and Creamy
Now, place the saucepan over low heat, stirring constantly (and patiently!). You'll want to keep an eye on the mixture until it thickens enough to coat the back of a spoon—this can take up to 15 minutes.
Incorporate Butter and Vanilla for Flavor
After removing the saucepan from heat, continue to stir to further cool the pudding. This is where you’ll whisk in the softened butter and vanilla extract. These ingredients are what transform your homemade banana pudding into an indulgent dessert, filling it with warmth and flavor.
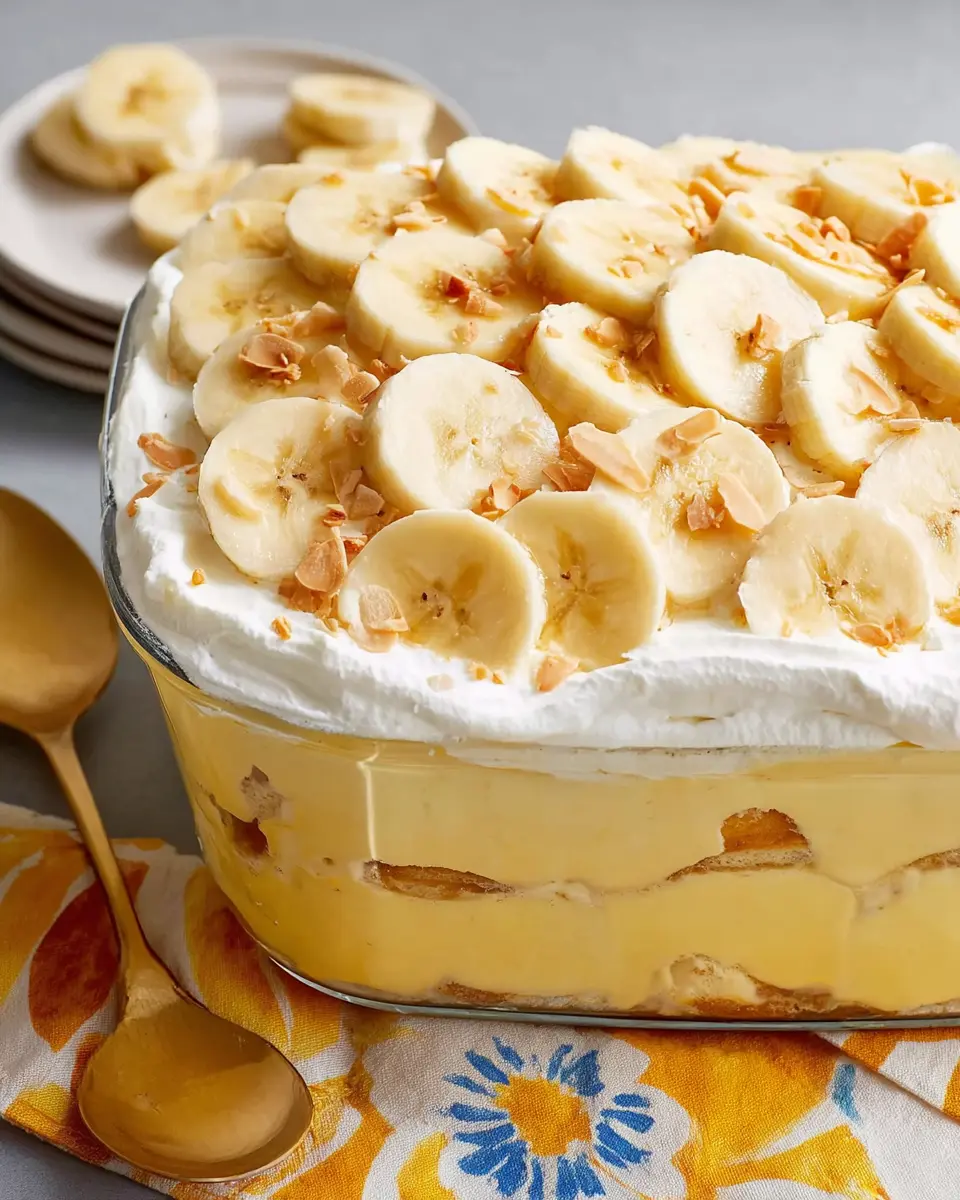
Layer with Bananas and Vanilla Wafers
Once your pudding has cooled slightly, it’s time for the fun part! Spread a layer of pudding in your dish and top it with sliced bananas and vanilla wafers. Repeat the layers until everything is used up, finishing with a layer of pudding on top.
Chill Before Serving for Best Results
Lastly, it’s crucial to chill your banana pudding in the refrigerator for at least one hour before serving. It allows the flavors to meld, improving the taste significantly. Trust me, this step is worth it!
By following these steps, you’ll create a delightful and nostalgic homemade banana pudding. This classic treat is sure to impress anyone lucky enough to have a scoop. Enjoy the journey, and happy cooking!
Variations on Homemade Banana Pudding
There are so many delightful ways to enjoy homemade banana pudding! Here are two variations that add a creative twist to the classic recipe.
Chocolate Banana Pudding Twist
If you're a chocolate lover, this one's for you! Simply incorporate cocoa powder into your pudding mix. Start by adding about ⅓ cup of unsweetened cocoa powder along with your sugar and flour in step 2. You can also layer chocolate wafers for added texture. The chocolatey richness pairs perfectly with the bananas, making it an indulgent dessert option.
Banana Pudding Parfaits with Greek Yogurt
For a healthier twist, consider making banana pudding parfaits with Greek yogurt. Layer sliced bananas, Greek yogurt, and crushed vanilla wafers in a glass. This not only enhances the nutritional profile but also adds a creamy element that everyone will love. Plus, it’s an easy make-ahead dessert perfect for parties or meal prep!
Feel free to experiment with these variations; there's no wrong way to enjoy delicious banana pudding! For more inspiration, check out sites like Food Network or Serious Eats for further recipe ideas.
Cooking Tips and Notes for Homemade Banana Pudding
Ensure proper cooking for the right texture
Achieving the ideal texture for your homemade banana pudding is essential. Make sure to cook the mixture over low heat while constantly stirring. This gentle heat allows for even thickening without clumping. If your pudding seems too runny, give it a little more time on the stove, but don’t rush the process! Once it coats the back of a spoon, you’re in the sweet spot.
Tips for achieving the perfect banana layers
When layering your bananas and vanilla wafers, it's best to slice the bananas right before assembly. This prevents Browning and helps retain their freshness in your homemade banana pudding. Consider placing a layer of pudding between the bananas to create a delicious barrier that holds in moisture. Lastly, let it chill for at least an hour in the fridge to intensify those flavors—the waiting game is worth it!
For more tips on keeping your bananas fresh, check out this article on Fruit Storage Essentials.
Serving suggestions for Homemade Banana Pudding
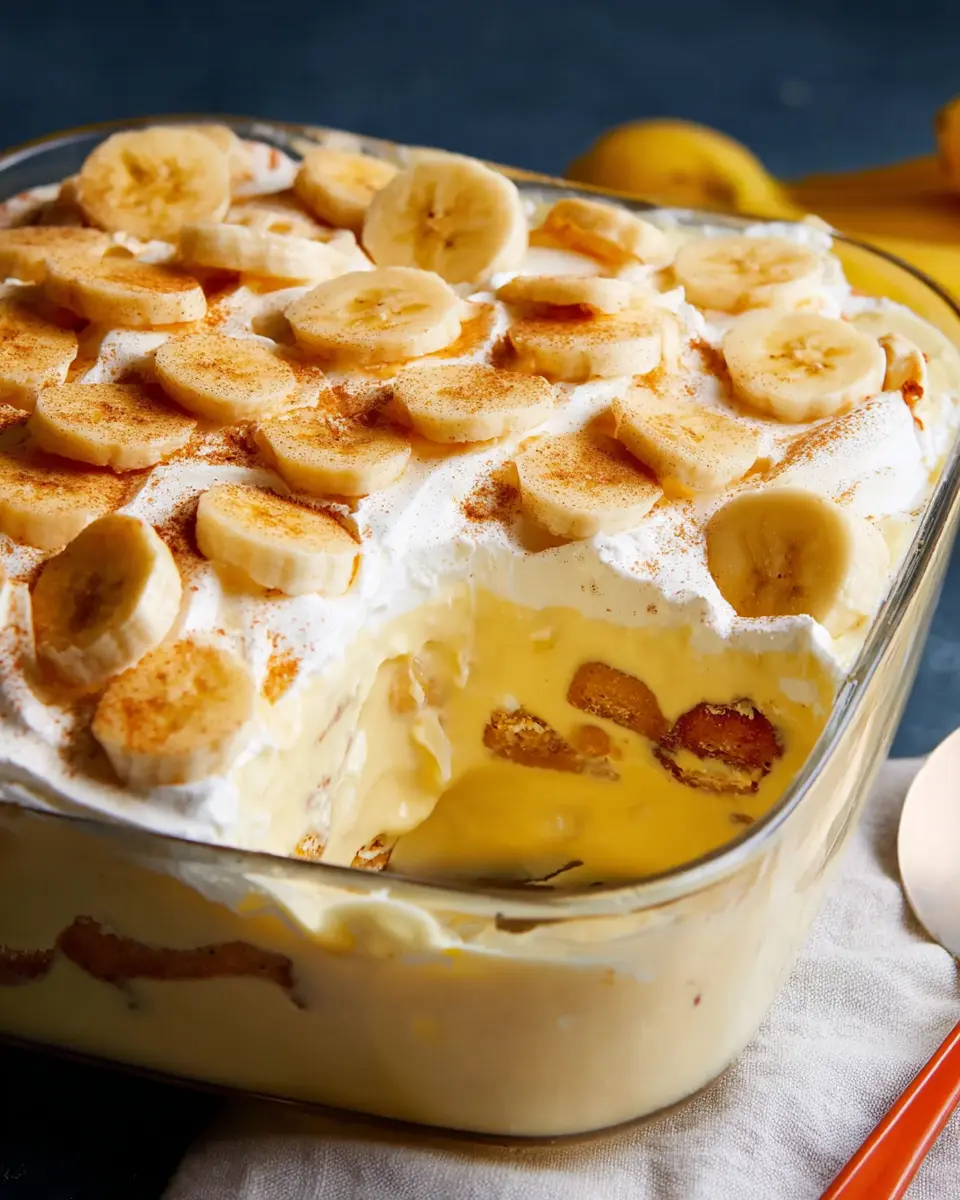
Ideal dishes to serve banana pudding in
When it comes to serving your homemade banana pudding, the right dish can enhance both its presentation and flavor. Opt for clear glass bowls or individual parfait cups to showcase the beautiful layers of creamy pudding, fresh bananas, and crunchy vanilla wafers. Not only does this add an inviting touch to your dessert table, but it also allows guests to appreciate the colorful ingredients.
Pairing suggestions for a complete dessert experience
To create an unforgettable dessert experience, consider offering sides that complement your homemade banana pudding. A scoop of vanilla ice cream or a dollop of whipped cream can elevate the dish further. For a bit of crunch and flavor, sprinkle chopped nuts or toasted coconut on top. Finally, serving a refreshing fruit salad on the side brings in a lighter element that balances the rich pudding beautifully. Enjoy mixing and matching these ideas to create the perfect pairing!
Time Breakdown for Homemade Banana Pudding
Understanding the timing will help you master your homemade banana pudding preparation. Here’s a quick rundown:
Preparation Time
Just 10 minutes to gather and mix your ingredients! This is the fun part—getting creative with the layers.
Cooking Time
Cooking the pudding will take about 20 minutes. Keep stirring to achieve that perfect creamy texture.
Total Time Including Chilling
Plan for a total of 1 hour and 30 minutes, which includes chilling time in the fridge. This allows the flavors to meld beautifully!
Ready to impress your friends and family with your culinary skills? Check out more about the health benefits of bananas and explore different pudding variations for your next gathering!
Nutritional Facts for Homemade Banana Pudding
Caloric Content per Serving
Indulging in this delightful homemade banana pudding will set you back about 580 calories per serving. While it’s perfect for a sweet treat, moderation is key to enjoying it alongside a balanced diet.
Key Nutrients Breakdown
Each serving of this banana pudding delivers essential nutrients:
- Total Fat: 19g
- Saturated Fat: 8g
- Cholesterol: 168mg
- Sodium: 428mg
- Total Carbohydrates: 92g
- Dietary Fiber: 2g
- Protein: 13g
Bananas bring Vitamin C and potassium to the mix, enhancing your dessert's overall nutritional profile. For a deeper understanding, resources like NutritionData and USDA FoodData Central can provide valuable insights on nutrient content in fruits and sweet treats.
FAQs about Homemade Banana Pudding
How can I prevent browning of the bananas?
To keep those lovely bananas from turning brown in your homemade banana pudding, the secret is lemon juice! A light drizzle will do the trick. You can also consider cutting the bananas just before layering them into the pudding for maximum freshness. This simple step not only preserves their color but also keeps your dessert looking irresistible.
Can I make banana pudding ahead of time?
Absolutely! One of the beauties of homemade banana pudding is that it can be prepared a day in advance. Just layer the pudding, bananas, and vanilla wafers, and cover it well with plastic wrap before refrigerating. It’ll allow the flavors to meld beautifully. Just add a few more banana slices on top right before serving to maintain that fresh look.
What can I substitute for vanilla wafers?
If you're not a fan of traditional vanilla wafers, consider using graham crackers or shortbread cookies as an alternative. Both will add a delightful texture and taste, while retaining that signature layered effect you love in homemade banana pudding. Plus, don’t hesitate to explore gluten-free options if needed!
Conclusion on Homemade Banana Pudding
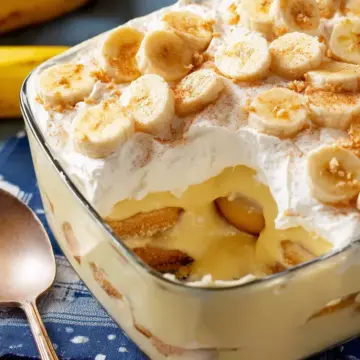
The Lasting Joy of Making Your Own Banana Pudding
Creating your own homemade banana pudding is not just about indulging in a delightful dessert; it’s about savoring memories and sharing love. Each layered scoop can transport you back to family gatherings and warm kitchens. So roll up your sleeves and enjoy the sweet journey of crafting this classic treat.
Homemade Banana Pudding
Equipment
- medium saucepan
- whisk
- large serving dish
- Refrigerator
Ingredients
- ⅔ cup white sugar
- ⅓ cup all-purpose flour
- ¼ teaspoon salt
- 3 large eggs, beaten
- 2 cups milk
- 2 tablespoons butter, softened
- ½ teaspoon vanilla extract
- 2 bananas, peeled and sliced
- ½ 12 ounce package vanilla wafer cookies
Instructions
- Gather all ingredients.
- Combine sugar, flour, and salt together in a medium saucepan. Whisk in eggs and milk; cook mixture over low heat, stirring constantly (and patiently), until mixture has thickened enough to coat the back of a spoon, up to 15 minutes.
- Remove from heat and continue to stir until pudding has cooled slightly; whisk in butter and vanilla until incorporated and smooth.
- Spread pudding into a large serving dish; layer with sliced bananas and vanilla wafers.
- Chill at least 1 hour in the refrigerator before serving.
Leave a Reply