
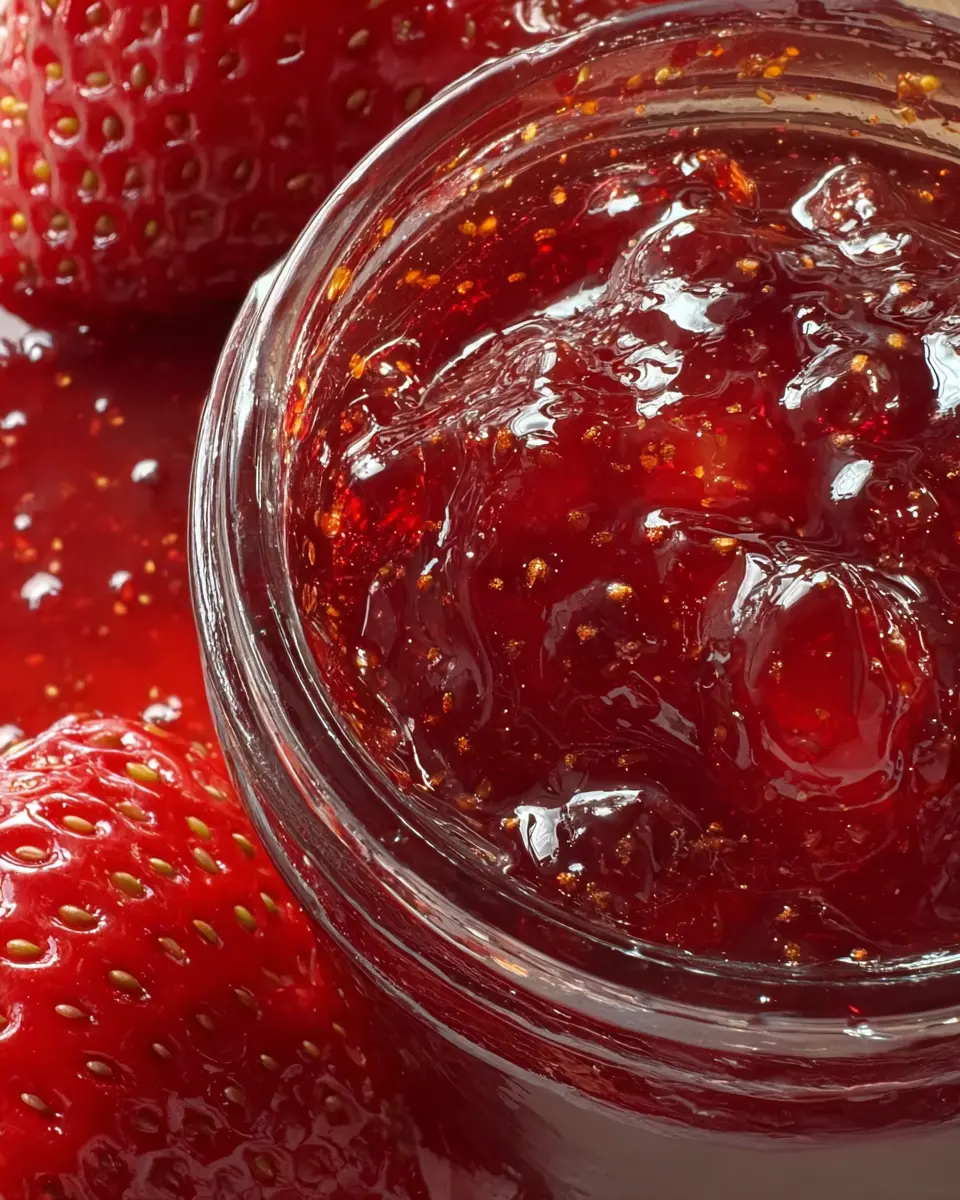
Introduction to Strawberry Preserves
Making homemade strawberry preserves is a delightful culinary adventure that anyone can embrace, even if you're new to the kitchen. Imagine spreading sweet, tangy strawberry goodness on your morning toast or drizzling it over pancakes—it's hard to resist! Unlike typical jams, which often blend the fruit into a smooth paste, preserves maintain the whole fruit pieces, providing a chunky texture that is simply irresistible.
What makes homemade strawberry preserves a delightful choice?
There are a few reasons why strawberry preserves stand out in the world of fruit spreads:
-
Flavor Intensity: Using fresh, ripe strawberries elevates the taste, allowing you to savor their natural sweetness. Fresh strawberries are high in Vitamin C and antioxidants, making them not only delicious but nutritious as well.
-
Customization: When you make your own preserves, you have complete control over the ingredients. Whether you prefer a little extra lemon juice for brightness or adjusting the sugar to fit your taste, the possibilities are endless.
-
Preservation with Purpose: This old-fashioned recipe not only provides a tasty treat but also a way to extend the life of fresh fruit. This technique has been cherished for centuries and connects us to our culinary roots.
With this simple recipe, you can share your homemade strawberry preserves with family and friends, spreading joy with every jar. Interested in learning more about the health benefits of strawberries? Check out this article from Healthline. Now, let’s dive into the joys of making your own strawberry preserves!
Ingredients for Strawberry Preserves
When it comes to creating homemade strawberry preserves, the quality of your ingredients makes all the difference. Here’s what you’ll need to get started:
-
2 pounds fresh strawberries, hulled: Look for plump, ripe strawberries for that amazing burst of flavor. Local farmers' markets often have the best selection!
-
5 cups white sugar: This sweet ingredient is essential for balancing out the tartness of the berries and achieving that perfect jam texture.*
-
2 tablespoons vinegar or lemon juice: The acidity from either option brightens the flavors and acts as a natural preservative. Plus, it helps to set the preserves beautifully.
-
1 pinch salt: Don’t overlook this ingredient! A touch of salt enhances the sweetness of the strawberries and adds depth to your preserves.
Gather these ingredients, and you’ll be well on your way to making a delightful batch of strawberry preserves! For more tips on sourcing fresh ingredients, check out sources like The Spruce Eats. Happy jamming!
Preparing Strawberry Preserves
Making strawberry preserves can be an incredibly satisfying process, especially when you're greeted with the sweet aroma of strawberries filling your kitchen. This guide will walk you through each step, ensuring that you create a rich, chunky jam that captures the essence of fresh strawberries.
Gather Your Fresh Strawberries
To start, head to your local market or pick your own strawberries if you’re up for a fun day outdoors! Choose fresh, ripe strawberries that are bright red and slightly firm to the touch. For this recipe, you’ll need 2 pounds of hulled strawberries. If you're unsure about what to look for, consider checking out resources like California Strawberries for tips on selecting the best berries.
Combine Strawberries with Sugar and Acids
Once you have your strawberries, it’s time to combine them with sugar and acid. In a large stockpot, toss the hulled strawberries with 5 cups of white sugar, 2 tablespoons of vinegar or lemon juice, and a pinch of salt. The sugar will help draw out the juices from the strawberries, creating a beautiful syrup. The acid not only balances the sweetness but also helps with the preservation process. Stir everything together and let it sit for about 10 minutes. This allows the strawberries to macerate, intensifying their flavor.
Cook the Mixture to Perfection
Now comes the fun part! Bring your mixture to a rolling boil over medium heat. Keep a close eye on it, stirring frequently to prevent sticking. You'll want to cook it for about 15 to 20 minutes, or until the temperature reaches 220 degrees F (105 degrees C). Don’t rush this step; allowing it to reach the proper temperature is crucial for achieving the right consistency for your strawberry preserves.
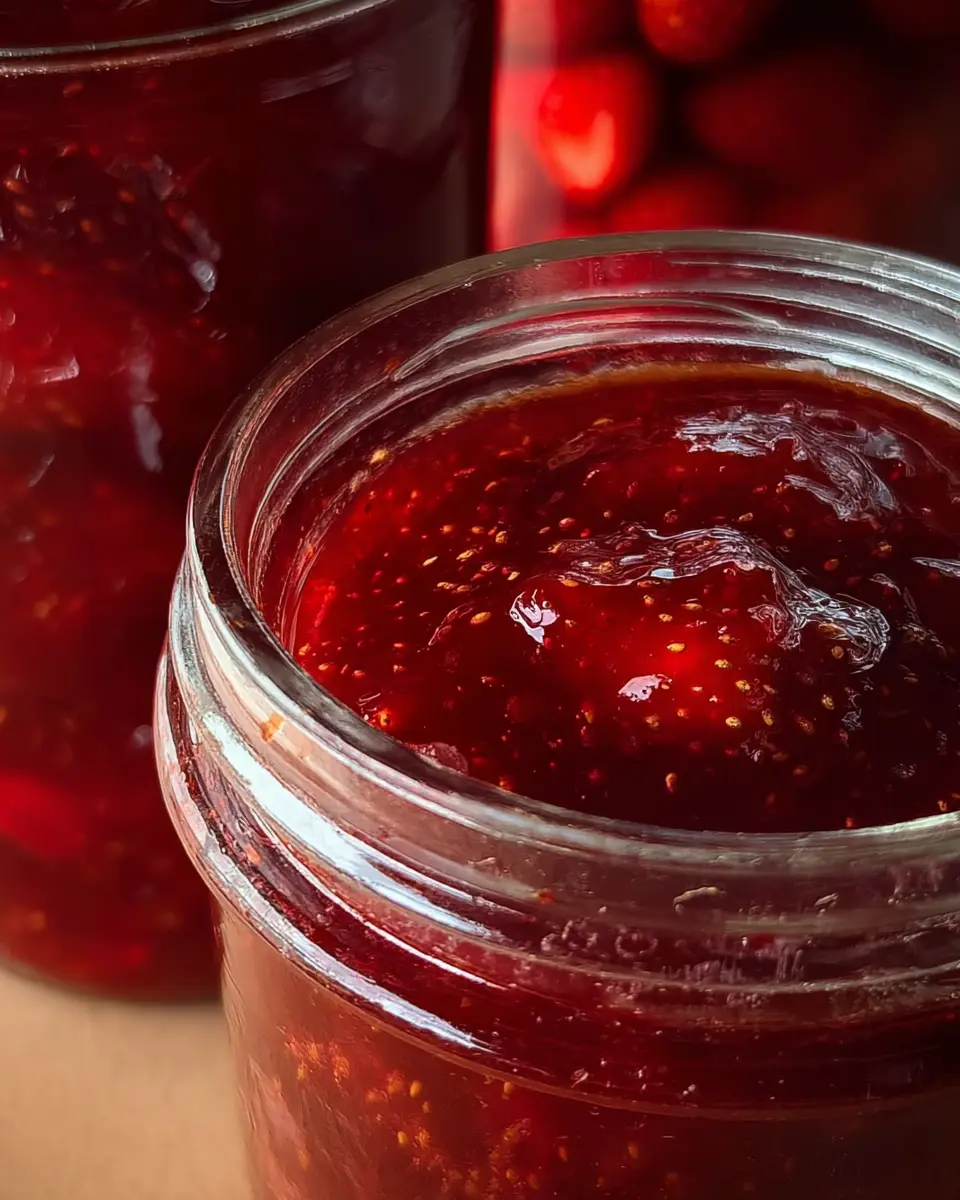
Transfer Preserves to Jars
Once your mixture has reached the right temperature, it’s time to transfer it to jars. Make sure to use hot, sterile jars to prevent any microbial growth. Use a ladle to fill each jar, leaving about ½ inch of headspace at the top. Wipe the rims of the jars with a clean cloth to ensure a good seal.
Process Jars for Safe Storage
To preserve your strawberry preserves, you’ll need to process the jars in a water bath. Place them in a pot of boiling water for about 10 minutes. This step is essential for safe storage and helps seal the jars properly. After processing, let them sit at room temperature until they cool completely. Once cooled, check that the lids have sealed properly before storing them in a cool, dark place.
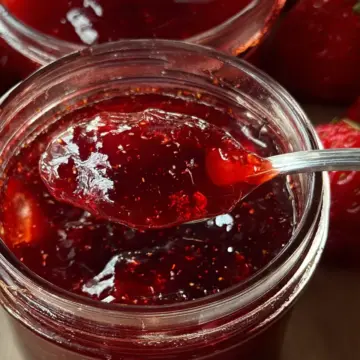
With just a little effort, you’ll be rewarded with delicious strawberry preserves that you can enjoy throughout the year. Perfect on toast, pancakes, or even as a topping for your favorite desserts, your homemade preserves will surely be a hit!
For more tips on preserving fruits and vegetables, check out The National Center for Home Food Preservation for reliable information. Happy preserving!
Variations on Strawberry Preserves
Classic Strawberry Preserves with a Twist
One way to elevate your strawberry preserves is by incorporating different fruit combinations. Try mixing in some luscious raspberries or blueberries for an exciting burst of flavor and color. Not only does this add complexity, but these berries also contribute their own unique health benefits. For a more sophisticated take, consider using a splash of balsamic vinegar or a hint of vanilla to enhance the natural sweetness of the strawberries.
Adding Spices for a Unique Flavor
Spices can truly transform your strawberry preserves. A touch of cinnamon or ginger can add warmth, while freshly cracked black pepper introduces an unexpected zing. If you're feeling adventurous, consider more exotic spices like cardamom or even chili flakes for a sweet and spicy blend. These additions will keep your preserves intriguing and delightful, encouraging you to experiment and find your personal perfect mix. For expert spice combinations, check out The Spice House.
Feel free to get creative—your taste buds (and friends) will thank you!
Cooking Tips and Notes for Strawberry Preserves
Importance of Using Ripe Strawberries
Using ripe strawberries is crucial for making the best strawberry preserves. The natural sweetness and vibrant flavor of fully ripe fruit will enhance your preserves significantly. Look for berries that are deep red and fragrant, as these will yield a richer, more satisfying jam. If they’re slightly overripe, use them promptly to avoid spoilage.
The Role of pH in Preserving
Did you know that pH levels play a vital role in preserving your strawberry preserves? The acidity from vinegar or lemon juice not only adds a zesty flavor but also helps inhibit bacterial growth. This is especially important for ensuring your preserves last longer. For detailed insights on food preservation, check out this expert guide. Remember, keeping that pH balanced is key to achieving the perfect consistency and flavor!
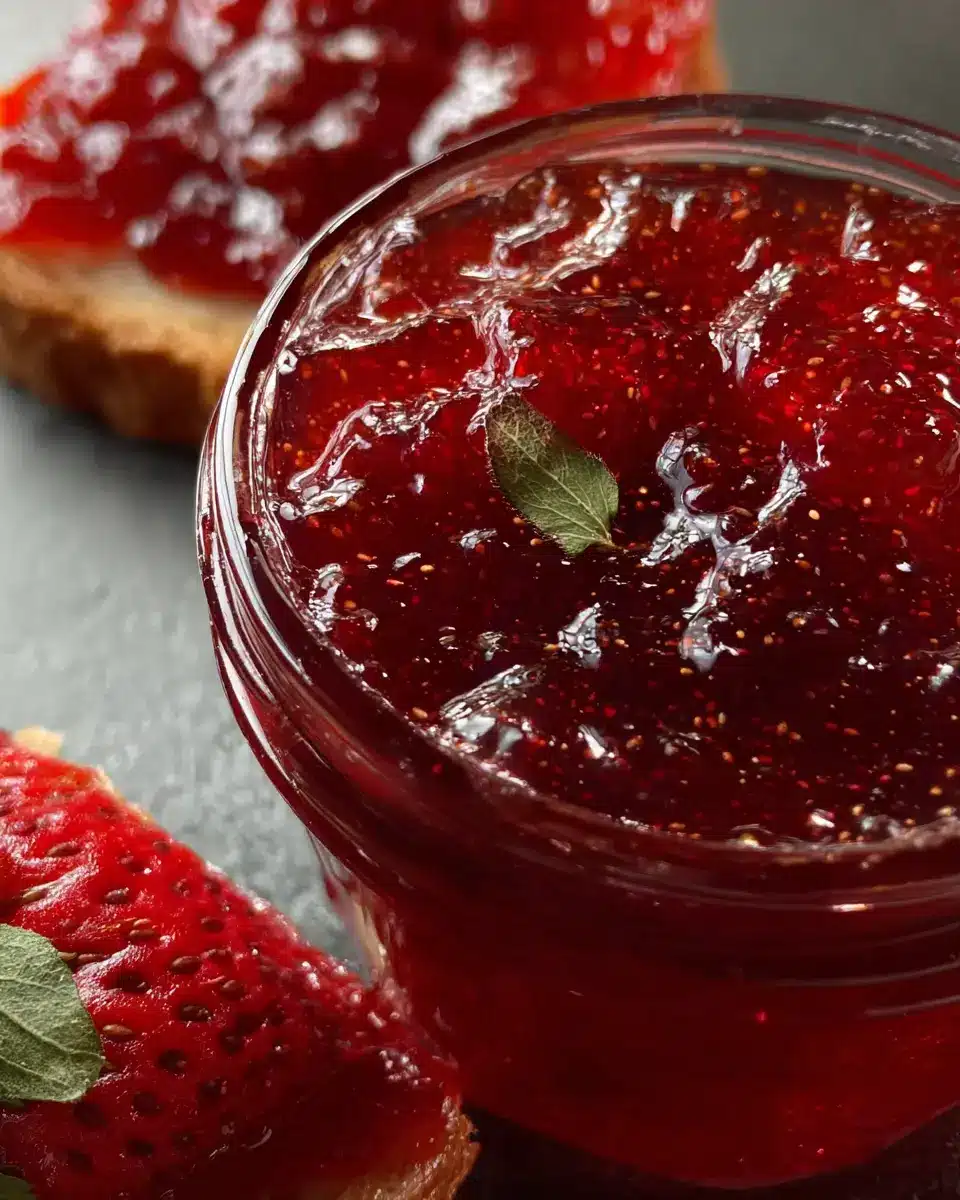
Serving Suggestions for Strawberry Preserves
Ideal pairings with breakfast items
Start your day off right by spreading strawberry preserves on warm, toasted whole-grain bread or bagels. The sweetness pairs beautifully with a smear of cream cheese, creating a delightful balance. For a heartier option, add a layer of turkey bacon or scrambled eggs and top it off with your homemade preserves. Really feeling creative? Try adding a spoonful to your morning yogurt or oatmeal for a fruity twist that packs a nutritional punch.
Creative uses in desserts
The versatility of strawberry preserves shines in desserts! Swirl it into cake batters or use as a filling for cupcakes. It also works great as a topping for cheesecake or panna cotta, complementing those creamy textures brilliantly. You can even blend it into smoothies for that extra burst of flavor. Looking for something a bit more unconventional? Try topping your favorite ice cream or sorbet with strawberry preserves for a beautiful and delicious finish.
For more inspiration, explore ways to incorporate preserves into your next charcuterie board or check out this guide on creative ways to use jam. Happy preserving!
Time Breakdown for Strawberry Preserves
Preparation Time
Preparing your ingredients for these delightful strawberry preserves takes just about 15 minutes. Make sure to hull the strawberries thoroughly to achieve that perfect texture!
Cooking Time
The magic happens in the pot, where you'll simmer the mixture for around 20 minutes. This is when the strawberries transform into a beautifully chunky jam.
Total Time
In just 35 minutes, you're ready to enjoy homemade strawberry preserves. The best part? You'll have enough to share or savor throughout the year!
Intrigued by the nuances of preserving? For deeper insights on the preservation process, check out resources from Purdue University for best practices.
Nutritional Facts for Strawberry Preserves
Understanding the nutritional aspects of strawberry preserves can enhance your enjoyment of this delightful spread. Here’s a quick breakdown:
Calories
One serving of these preserves (approx. 1 tablespoon) contains about 104 calories, making it a sweet addition to your breakfast or snacks without overwhelming your daily intake.
Sugars
With 26 grams of sugars per serving, the sweetness of strawberry preserves comes from natural and added sugars. It’s perfect for satisfying your sweet tooth, but moderation is key!
Fiber Content
Each serving offers 1 gram of dietary fiber, adding a small boost to your daily intake. While it may not be a significant source, every bit helps toward maintaining digestive health.
For more insights on maintaining a balanced diet, check out this resource on fiber suggestions. Remember, while indulging in the joys of strawberry preserves, it’s important to balance your diet with various fruits and vegetables.
Happy preserving!
FAQs about Strawberry Preserves
How long do homemade strawberry preserves last?
When stored properly, homemade strawberry preserves can last for up to a year if sealed in jars and kept in a cool, dark place. Once opened, be sure to refrigerate them, and they should stay fresh for about three weeks. Make sure to check for signs of spoilage, like unusual colors or smells, before enjoying!
Can I use frozen strawberries for preserves?
Absolutely! Frozen strawberries work just as well as fresh ones for making strawberry preserves. Just keep in mind that they may be a bit softer, which can make the texture slightly different. If you're in a pinch or want to make preserves out of season, frozen strawberries are a great option.
What is the difference between preserves and jam?
Preserves typically contain larger pieces of fruit, providing a chunkier texture, while jam is smoother and made from crushed fruit. The key difference lies in the preparation method and the resulting consistency. If you're looking for vibrant, fruity bites, strawberry preserves are the way to go!
For more in-depth information on home canning and preservation, you might want to check out resources from the National Center for Home Food Preservation.
Conclusion on Strawberry Preserves
In summary, making strawberry preserves is a delightful journey into the world of homemade goodness. With just four simple ingredients and a bit of time, you’re left with a chunky, delicious treat that can enhance your favorite breakfast or dessert. Enjoy spreading joy jar by jar!
Strawberry Preserves
Equipment
- large stockpot
- sterile jars
Ingredients
Fruits
- 2 pounds fresh strawberries, hulled
Sugar
- 5 cups white sugar
Acids
- 2 tablespoons vinegar or lemon juice
Seasoning
- 1 pinch salt
Instructions
Preparation
- Combine whole strawberries, sugar, vinegar, and salt together in a large stockpot. Bring to a rolling boil, and cook stirring frequently for 15 to 20 minutes, or until the temperature of the mixture has reached 220 degrees F (105 degrees C).
- Transfer preserves to hot sterile jars, leaving ½-inch headspace, and seal. Process jars for 10 minutes in a water bath. Refrigerate jam once the seal is broken.

Leave a Reply