
Introduction to Mango Mousse
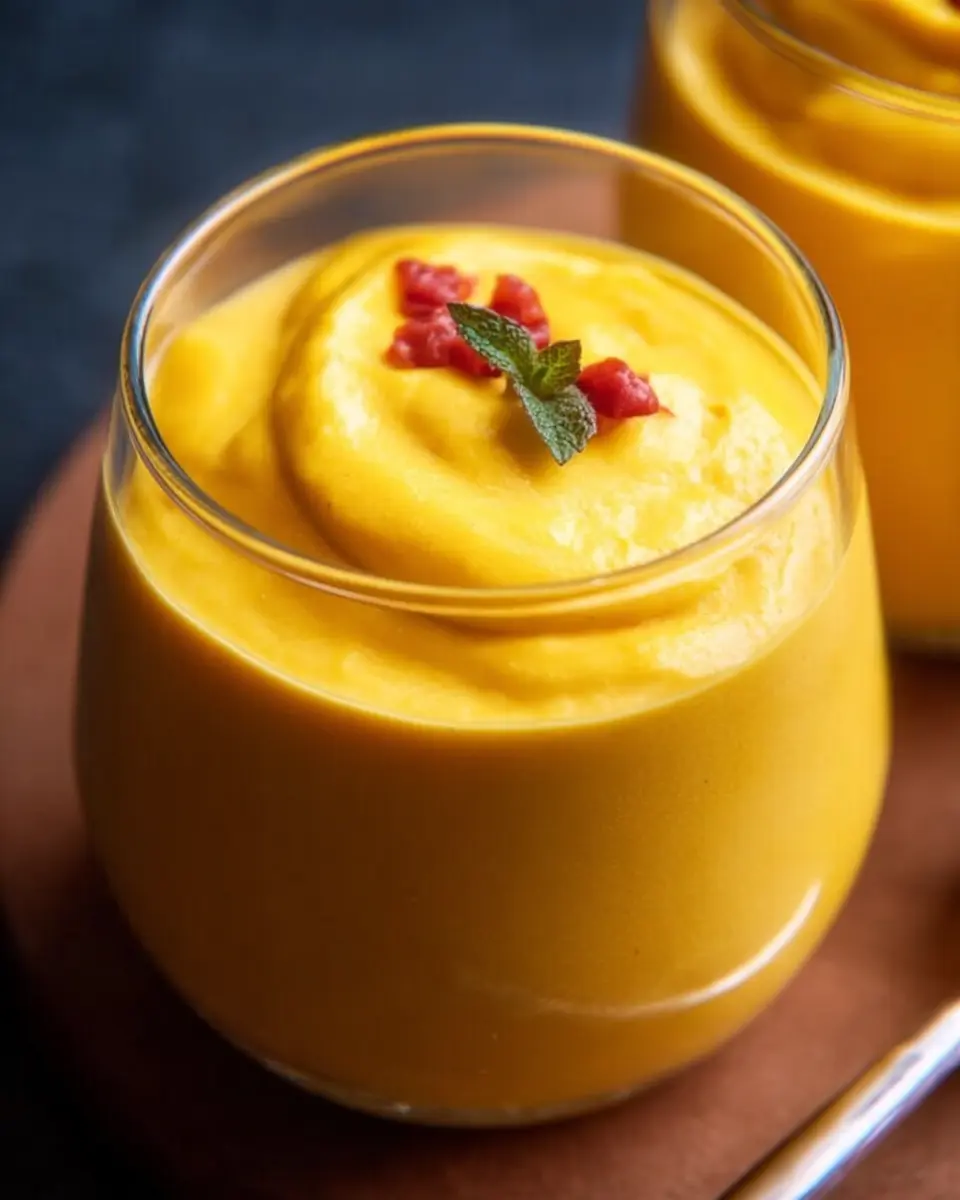
Mango mousse is quickly becoming a go-to dessert for young professionals looking to impress their friends or simply treat themselves. With its luscious texture and tropical flavor, this dessert is not just easy to prepare; it's also an instant celebration of summer. Imagine hosting a dinner party, and within 10 minutes, you can whip up a refreshing and elegant mango mousse that requires no cooking at all!
What makes it so appealing? For many, the allure lies in the simplicity of the recipe. With just three ingredients—sweet mangoes, cream, and a touch of sweetener—you can create a light, airy dessert perfect for ending a satisfying meal. This makes mango mousse an ideal choice for busy professionals who cherish both flavor and convenience.
Moreover, mangoes are rich in vitamins and antioxidants, making this mousse not only delicious but also a nutritious option. According to Healthline, mangoes can boost your immune system and improve digestion. So, why not indulge in a dessert that's as kind to your body as it is to your palate? With its vibrant color and airy texture, mango mousse is sure to become a favorite in your recipe repertoire!

Ingredients for Mango Mousse
Essential ingredients for a creamy mango mousse
Creating a delicious mango mousse is surprisingly simple, and it only requires three core ingredients. Start with 2 ripe, sweet mangoes, or about 1.5 cups of chopped fruit. The mangoes should be fragrant and yielding, ensuring a naturally sweet base for your mousse. Next, add ½ cup of light cream (with a fat content between 25% to 35%) or whipping cream. This is crucial for achieving that creamy texture we all love. You can also choose to include 1 to 2 tablespoons of raw sugar or honey, depending on your mango's sweetness; adjusting to taste makes all the difference!
Optional garnishes to elevate your dessert
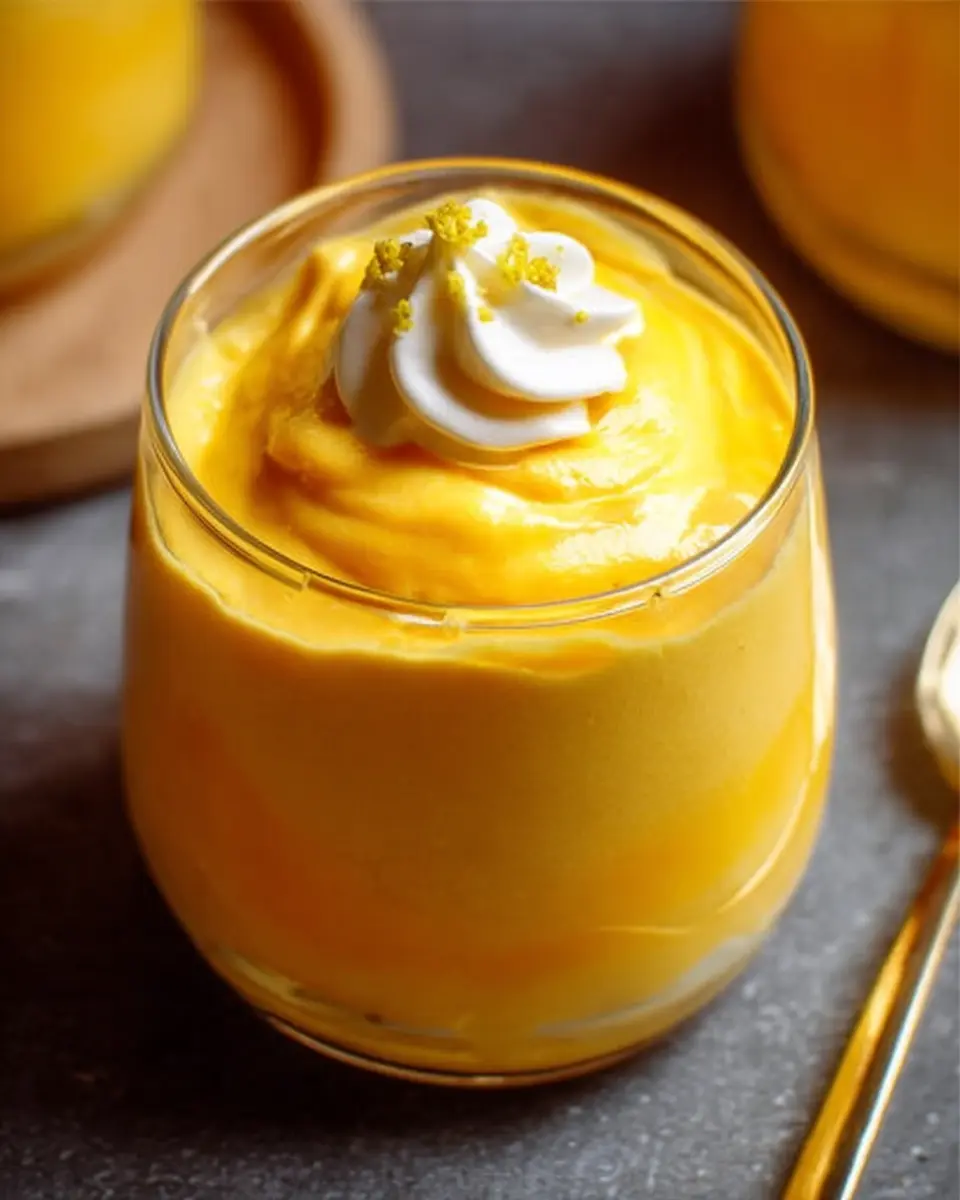
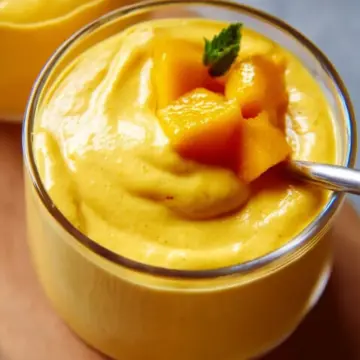
To take your mango mousse to the next level, consider garnishing it with delightful toppings. You might opt for chopped mangoes for a fresh burst, or try 1 to 2 tablespoons of chopped nuts like cashews, almonds, or pistachios for added crunch. Fruit preserves or chocolate shavings can introduce complex flavors, while a few mint sprigs add a refreshing touch. The choice of garnish not only enhances the look but also makes every bite a little more exciting!
Preparing Mango Mousse
When it's time to whip up something delightful and refreshing, mango mousse is the way to go! This light and creamy dessert is not only delicious but incredibly easy to make, using just three primary ingredients. Let's jump into the steps that will help you prepare this beautiful treat!
Gather and Prepare Your Ingredients
Before you get started, it’s crucial to gather all your ingredients. For this mango mousse, you’ll need:
- 2 ripe mangoes (or approximately 1.5 cups chopped)
- ½ cup light cream (25% to 35% fat) or whipping cream
- 1 to 2 tablespoons raw sugar or honey (optional, for sweetness)
Make sure your mangoes are sweet and ripe for the best flavor! Have a look at this guide on ripe mangoes to select the best ones, and don't forget to have your tools ready—like a blender, mixing bowl, and an electric beater.
Make the Mango Puree
Now, onto the magic of transforming your mangoes into a velvety puree.
- Start by chopping the mangoes into small pieces and throwing them into your blender. If you find your mangoes aren't sweet enough, this is the point where you can add the sugar or honey to taste.
- Blend them until the mixture is smooth and free of lumps.
Remember, using sweet mangoes makes a world of difference, especially when pairing them with cream. Not only is the flavor richer, but it's also better for your digestion!
Whip the Cream to Perfection
With your puree ready, it's time to give the cream some attention:
- Pour the ½ cup of cream into a mixing bowl. Using an electric beater, whip the cream until you see soft peaks forming. Don’t over-whip, as that can lead to a grainy texture.
- The key here is to achieve that fluffy consistency that will beautifully incorporate with your mango puree.
Combine Puree and Whipped Cream
Now that you have your two main components, it's time for the grand merging:
- Gently fold the mango puree into the whipped cream. Use a spatula and be careful not to deflate that lovely whipped cream you’ve just created.
- A gentle folding motion will help maintain the mousse’s airy texture.
Chill and Set the Mousse
Pour or spoon your mango mousse into small bowls or shot glasses, then:
- Cover them with plastic wrap and pop them into the refrigerator.
- Let the mousse chill for at least 30 minutes to an hour. This helps it set up and allows the flavors to meld beautifully.
Finally, when you’re ready to serve, you can add garnishes like chopped mangoes, nuts, or even a drizzle of chocolate syrup for an extra touch. And there you have it! Your airy and delightful mango mousse is ready to impress! Enjoy every creamy, fruity bite—your taste buds will thank you. For more dessert ideas, check out this simple dessert guide.
Variations on Mango Mousse
Tropical Twist with Coconut
Elevate your mango mousse by incorporating creamy coconut! Simply add half a cup of coconut cream when you're mixing the mango puree with whipped cream. This gives your dessert an irresistible tropical flair. For a fun touch, sprinkle some toasted coconut flakes on top for added texture and flavor. You’ll not only experience the sweetness of mangoes but also the rich, velvety taste of coconut. Discover more about coconut benefits in terms of health on Healthline.
Chocolate Mango Mousse Fusion
Why not indulge in a delicious chocolate mango mousse fusion? Mix in two tablespoons of cocoa powder with the mango puree for a divine chocolate twist. You can also experiment with chocolate shavings as a garnish, creating a delightful contrast of flavors. This blend will satisfy both chocolate and fruit lovers, making your dessert a hit at gatherings! If you’re curious about more creative mango mousse variations, check out different dessert trends on Food52.
Cooking Tips and Notes for Mango Mousse
Avoiding Common Mistakes
To ensure your Mango Mousse turns out perfectly, start by choosing ripe, sweet mangoes. Unripe or overly tart mangoes can ruin the flavor and may cause an upset stomach when mixed with cream. Also, be careful not to over-whip the cream; it should be fluffy with soft peaks—not grainy or curdled.
Tips for Achieving the Right Texture
For an ultra-smooth texture, blend the mangoes until completely pureed before adding to the whipped cream. When folding, use a soft, gentle motion to combine the two instead of vigorous mixing, which helps maintain that airy lightness. Chill your mousse for at least an hour to set it nicely—this enhances the texture and flavor!
Need more tips? Check out this guide on mousse-making for expert advice!
Serving Suggestions for Mango Mousse
Creative Garnishing Ideas
Elevate your Mango Mousse with some delicious toppings that add both flair and flavor. Consider:
- A sprinkle of chopped nuts such as almonds or pistachios for a delightful crunch.
- Chocolate shavings or a drizzle of chocolate syrup for that decadent touch.
- Fresh mint sprigs to add a pop of color and freshness.
- A spoonful of fruit preserve to enhance the fruity essence.
Each of these garnishes transforms the mousse into a visually appealing and scrumptious treat!
Pairing Suggestions for a Complete Dessert Experience
To turn your Mango Mousse into a complete dessert experience, pair it with complementary flavors. Try serving it alongside:
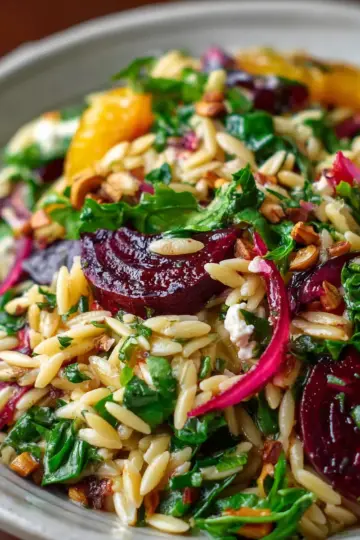
- A light fruit salad to balance the richness.
- Coconut macaroons for a tropical vibe.
- A scoop of creamy vanilla ice cream to contrast the airy texture.
These pairings not only enhance your dining experience but also make for an exciting dessert platter that’ll impress your guests!
For more creative ideas, check out Food52 or Serious Eats.
Time Breakdown for Mango Mousse
Preparation Time
Creating your Mango Mousse starts at the blender! You’ll need about 10 minutes to gather your ingredients, chop the mangoes, and whip the cream to perfection.
Chilling Time
After assembling your luscious mousse, it’s crucial to let it set in the fridge. A good 30 minutes should do the trick, though chilling for longer enhances the flavors even more.
Total Time
All in all, you’ll be enjoying a delightful treat in about 40 minutes, from start to finish. Perfect for a quick dessert fix or an unexpected guest – who wouldn’t love that?
For more Mango Mousse inspiration, check out this article on different fruit variations!
Nutritional Facts for Mango Mousse
Calories per serving
Each serving of Mango Mousse contains approximately 118 calories. This makes it an indulgent yet relatively guilt-free dessert option for those who want to satisfy their sweet tooth without overdoing the calories.
Key nutritional components
The Mango Mousse is packed with essential nutrients, including:
- Carbohydrates: 19g
- Protein: 1g
- Fat: 5g (with 3g being saturated fat)
- Fiber: 2g
- Vitamin C: 38mg (important for immune health)
This dessert also offers a good dose of Vitamin A at 1272 IU, supporting skin health and vision. With wholesome ingredients like ripe mangoes and cream, it's not only delicious but also a source of valuable nutrients. For more in-depth nutritional info, check out resources like the USDA FoodData Central.
FAQs about Mango Mousse
Can I make mango mousse ahead of time?
Absolutely! Mango mousse is a fantastic dessert to prepare in advance. You can make it a day before your event, allowing the flavors to meld perfectly. Just remember to cover it well or store it in an airtight container to keep it fresh in the fridge.
How should I store leftover mango mousse?
If you have any leftover mango mousse, simply cover it tightly with plastic wrap or transfer it to a sealed container. It will stay delicious in the refrigerator for up to 3 to 4 days. Enjoy a refreshing treat any time!
Are there any alternatives for cream in this recipe?
Yes! If you're looking to lighten up the recipe or cater to dietary preferences, consider alternatives such as coconut cream or even a cashew cream for a nutty twist. Both options will provide a creamy texture while enhancing the mango flavor beautifully. For more ideas, check out this guide on cream substitutes.
Conclusion on Mango Mousse
Embrace the joy of homemade desserts
Creating your own mango mousse is not just about satisfying your sweet tooth; it's about the experience. With only three ingredients and minimal effort, you can whip up a delightful treat that's sure to impress! Enjoy this creamy indulgence for any occasion, and relish the fresh, fruity flavors.
Mango Mousse (Creamy 3 Ingredient Recipe)
Equipment
- blender
- electric beater
- bowl
- shot glasses or bowls
Ingredients
For mousse
- 2 mangoes sweet, ripe & medium-sized (or 1.5 cups chopped)
- 1-2 tablespoons raw sugar or honey add as required, optional
- ½ cup light cream (25% to 35% fat) or whipping cream
For garnish (choose any)
- ¼ cup chopped mangoes
- 1-2 tablespoons chopped nuts cashews, almonds, pistachios
- 1-2 tablespoons fruit preserve
- 1-2 tablespoons chocolate shavings or grated chocolate or chocolate syrup
- 3-4 sprigs mint for garnishing
Instructions
Making mango puree
- In a blender, add the chopped mangoes. At this step, you can also add sugar or honey if the mangoes are not overly sweet.
- Blend to a smooth fine puree.
- Make sure to use only sweet tasting mangoes with dairy products. Tangy or sour-sweet mangoes when mixed with cream can cause stomach upsets.
Whipping cream
- Take cream in a bowl. With an electric beater beat the cream until you see soft peaks in it.
- Ensure you don't over whip the cream.
- Add the mango puree to the beaten cream.
- Fold gently to combine the mango puree with the whipped cream.
- Pour or spoon the mango mousse in small shot glasses or bowls. Cover and chill the mousse in the refrigerator for 1 hour to a couple of hours.
Serving suggestions
- Serve mango mousse cold. Garnish any of your preferred toppings from the ingredients mentioned above or enjoy the mousse as is.
Storage
- This mango mousse will keep well in the refrigerator for up to 3 to 4 days. Keep the glasses covered with plastic wrap or transfer to a sealed container.


Leave a Reply