
Introduction to Baby Bloomin’ Onions
Why Baby Bloomin’ Onions are the Perfect Homemade Snack
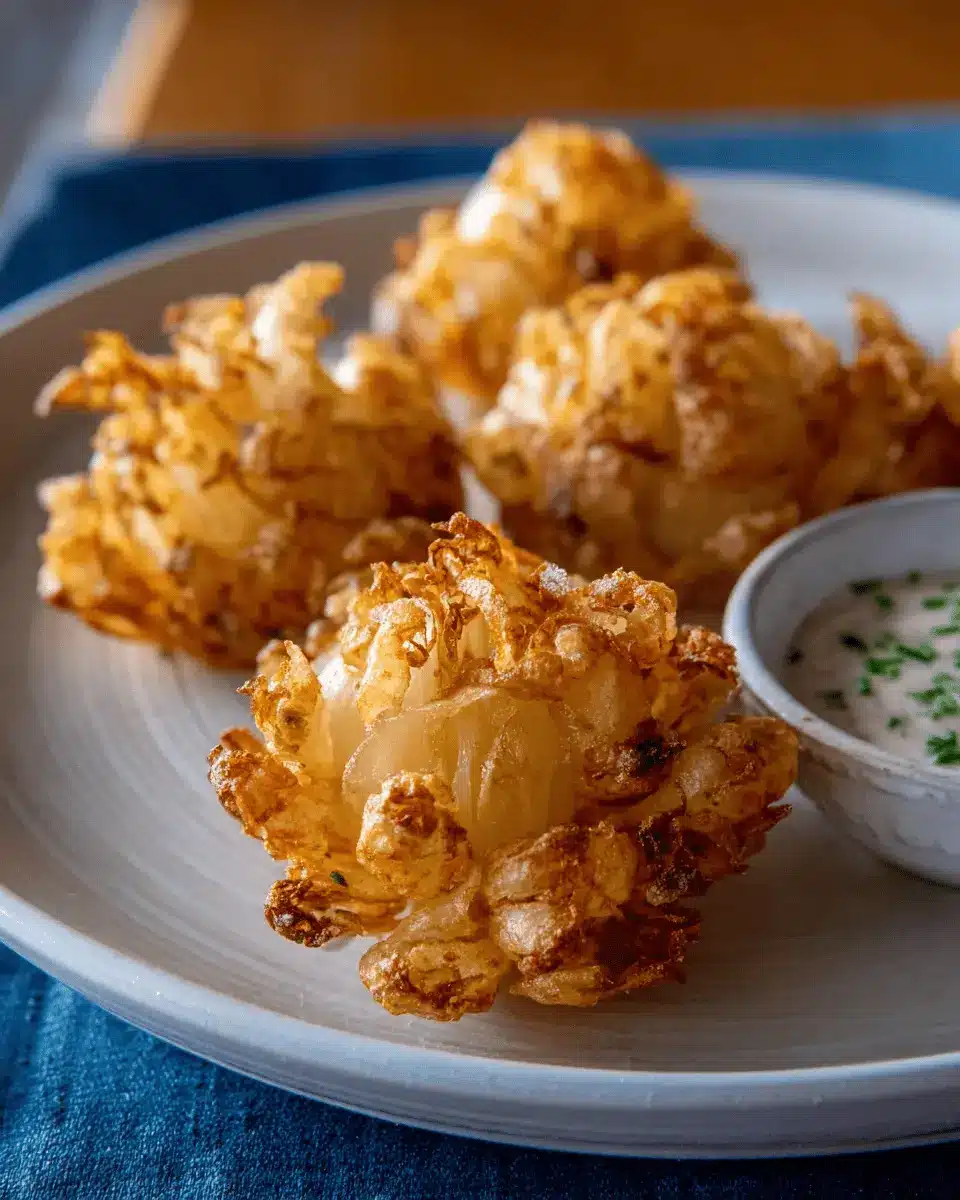
If you’re looking to elevate your snacking game, look no further than baby bloomin’ onions. These delightful bites serve up all the flavor and crunch you crave, making them the ultimate homemade treat for any occasion. Imagine crispy, golden onions, each layer perfectly separated to create a stunning visual display and an irresistible texture.
When paired with a creamy dipping sauce, they become the star of game night or movie marathons! Plus, making baby bloomin’ onions from scratch ensures you control the quality of ingredients. According to the Centers for Disease Control and Prevention, nutritious snacks can help support a balanced diet, so why not indulge in something that’s both delicious and customizable?
Not only are they a fun way to enjoy veggies, but you can also get creative with flavors. Personalize your onions with spices that you love, like a pinch of cayenne for a spicy kick or some grated cheese for an extra cheesy twist.
Ready to impress your friends at your next gathering? Let’s dive into the recipe and find out how to make these crispy, bloomin’ masterpieces!

Ingredients for Baby Bloomin’ Onions
Essential Ingredients for Flavorful Bloomin’ Onions
Creating delectable baby bloomin’ onions is all about the right mix of ingredients. Here's what you'll need to achieve that crispy, golden perfection:
-
Cipollini Onions: These sweet, small onions are the stars of the dish, offering a tender yet robust flavor.
-
Buttermilk: This tangy ingredient adds moisture and rich flavor. If you're in a pinch, a mix of milk and a dash of vinegar can do the trick.
-
All-Purpose Flour: Essential for that crispy coating, this flour provides the perfect protein base for frying.
-
Seasoning Mix: The magic comes from garlic powder, onion powder, smoked paprika, salt, dry mustard, and black pepper. These elements create a mouthwatering aroma and taste that’ll have everyone asking for seconds!
-
Oil for Frying: Choose peanut or vegetable oil for a high smoke point, perfect for crispy, perfectly fried onions.
With these ingredients, you’re well on your way to making delicious baby bloomin’ onions that will impress your friends at any gathering! For more frying tips, check out Serious Eats on frying techniques.
Preparing Baby Bloomin’ Onions
Making baby bloomin’ onions is a fun and delicious adventure in the kitchen! These crispy, savory treats are perfect for gatherings or simply as a snack when you're feeling indulgent. Let’s walk through the preparation step by step to ensure your onions bloom beautifully and taste amazing.
Step 1: Gather Your Ingredients
Before you dive into the frying frenzy, it’s essential to have everything you need at your fingertips. For this recipe, you’ll require:
- 16 cipollini onions
- 1 cup buttermilk
- 1 cup all-purpose flour
- 1 teaspoon garlic powder
- 1 teaspoon onion powder
- 1 teaspoon smoked paprika
- 1 teaspoon salt
- ½ teaspoon dry mustard
- ½ teaspoon black pepper
- Peanut or vegetable oil for frying
Having these ingredients ready will help you move swiftly, making the cooking process not only smoother but more enjoyable. A little tip: if you want an extra kick, consider exploring some spice blends from reputable sources like Penzy's Spices or Savory Spice for your flavor enhancements.
Step 2: Preheat the Oil
The key to perfectly fried baby bloomin’ onions lies in the oil temperature. Heat up a tall pot with about 2 ½ inches of your chosen oil. You'll want to bring it to a crisp 350˚F. This is where the magic happens as the high heat will create that mouth-watering, golden crust on your onions.
Step 3: Prepare the Onions
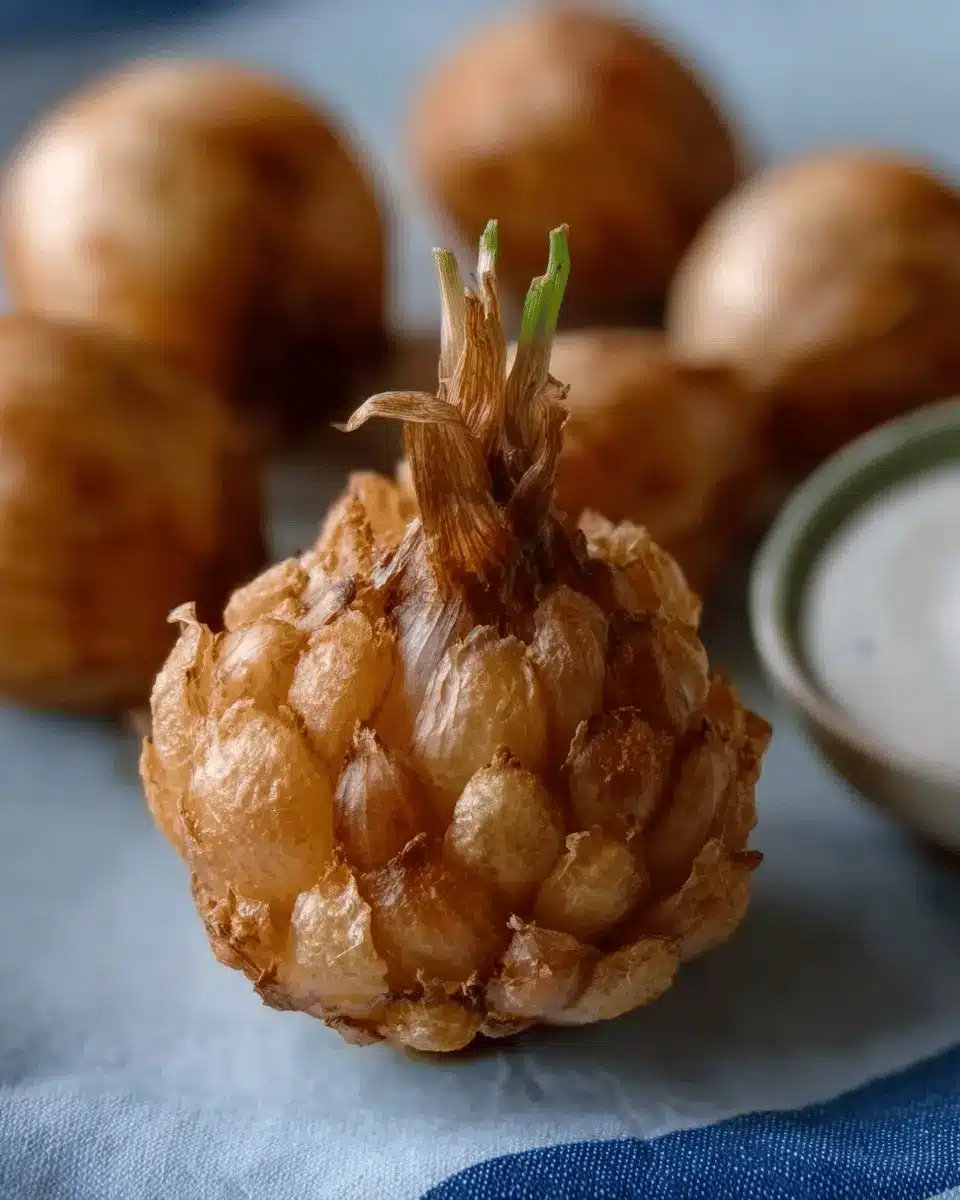
For the stars of our dish, the cipollini onions, start by carefully trimming the pointed stem end off—just about ⅛ inch. Peeling them should be done with care; avoid removing too many outer layers, as we want them to stay intact and pop beautifully while frying. For the blooming effect, cut a series of cross-cuts through the onion while keeping the root intact. Aim for 12 evenly spaced cuts, which will encourage the onion petals to fan out.
Step 4: Coat the Onions
Now comes the fun part! In a small bowl, pour your buttermilk. Dip each onion into this creamy goodness, giving it a gentle shake to rid it of excess liquid. Next, mix your flour with the spices in a separate bowl. Dredge each onion in the flour mixture, ensuring they're well-coated—double coating ensures that crispy exterior you love in a baby bloomin’ onion.
Step 5: Fry the Onions to Perfection
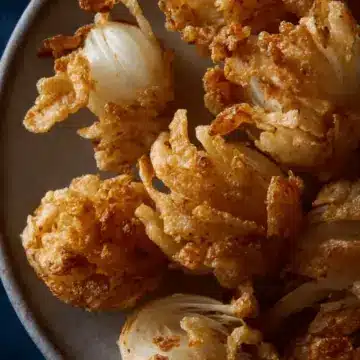
Once your oil is heated and your onions are coated, carefully place a couple of them—cut-side down—into the oil. Fry for about 3 to 4 minutes, and then flip for an additional 2 minutes until they're golden brown and irresistible. Using a slotted spoon, transfer them to a paper towel-lined plate, season with a pinch of salt and pepper, and serve hot with your favorite dipping sauce, like a homemade buttermilk ranch.
And there you have it—your baby bloomin' onions are ready to impress! Enjoy crafting these tasty treats, and don’t forget to share them at your next gathering or enjoy them all to yourself—no judgment here!
Variations on Baby Bloomin’ Onions
Switching up your baby bloomin’ onions can elevate this tasty appetizer to new heights! Here are two fun variations that will excite your taste buds:
Spicy Bloomin’ Onions
If you're a fan of heat, try adding cayenne pepper or a dash of hot sauce to your flour mixture. For an extra kick, serve with a zesty sriracha ranch dip. This spicy twist will leave your guests reaching for more!
Cheesy Bloomin’ Onions
Who doesn't love cheese? For a gooey delight, sprinkle some shredded cheddar or parmesan into your flour mix. Once fried, drizzle melted cheese over the tops of your baby bloomin’ onions and serve with a tangy cheese dip. It's a delicious way to indulge!
These variations are not only easy to make but will surely impress your friends and family. Give them a try and let us know how they turn out! Looking for more recipe inspirations? Check out AllRecipes or Food Network for more ideas!
Cooking Tips and Notes for Baby Bloomin’ Onions
Creating the perfect baby bloomin’ onions requires a little finesse! Here's how to elevate your dish:
-
Onion Selection: Opt for fresh, firm cipollini onions. Their sweetness and size make them ideal for blooming.
-
Double Dipping Technique: For an extra crunchy texture, dip your onions in buttermilk twice before dredging in flour. This ensures a thicker batter that holds up during frying.
-
Oil Temperature Matters: Always monitor the oil temperature—350°F is ideal. If it's too hot, your onions will burn; too cool, and they’ll absorb oil and become greasy.
To ensure consistent results, check out our tips on deep frying essentials. Enjoy the bloomin’ adventure!
Baby Bloomin’ Onions
Equipment
- tall pot
Ingredients
- 16 pieces cipollini onions
- 1 cup buttermilk
- 1 cup all purpose flour
- 1 teaspoon garlic powder
- 1 teaspoon onion powder
- 1 teaspoon smoked paprika
- 1 teaspoon salt
- ½ teaspoon dry mustard
- ½ teaspoon black pepper
- peanut or vegetable oil for frying
Instructions
- Fill a tall pot with 2 ½ inches of oil. Preheat oil to 350˚F.
- Cut off ⅛ inch from the pointed stem end of each onion, then peel carefully, ensuring not to peel through an actual onion layer.
- Place the onion, cut-side up and make a cross-cut through the onion, leaving the bottom stem intact. Continue cross-cutting through the onion until you have 12 evenly spaced cuts through each onion.
- Turn the onions over and use your fingers to gently separate the outer layers.
- Pour buttermilk into a small bowl. Set aside.
- Place remaining ingredients into another mixing bowl and toss together until well combined.
- Dip each onion into the buttermilk, shaking to remove any excess liquid. Quickly dredge each onion in the flour mixture, shaking off any excess. Repeat until each onion is double coated.
- Carefully drop a couple onions at a time into the hot oil, cut-side down, for 3 to 4 minutes. Flip and fry for an additional 2 minutes or until each onion is crisp and golden brown.
- Transfer onions onto paper towels and season with salt and pepper. Quickly transfer to a cooling rack or serving plate and serve with buttermilk ranch dipping sauce.

Leave a Reply