
Introduction to Homemade Cream Puffs
Creating homemade cream puffs is a delightful culinary adventure that anyone can embark on. But why should you consider making these delightful desserts? Firstly, cream puffs are a fantastic way to impress family and friends. There’s something magical about presenting beautifully baked pastries that are light and airy, filled with luscious whipped cream.
What’s even better? Making them from scratch allows you to control the ingredients, ensuring freshness and quality. If you have dietary restrictions or simply prefer natural ingredients, homemade cream puffs are a fantastic option. Plus, there’s a satisfying sense of accomplishment that comes from mastering choux pastry—a staple in French desserts.
According to the experts at Serious Eats, the key to achieving that perfect puff lies in the technique. With just a little patience and practice, you’ll be able to craft light-as-air pastry shells that are simply irresistible. Want to get creative? Experiment with flavors by adding chocolate, vanilla, or even fruit fillings. The possibilities are endless!
So gather your ingredients and sprinkle a little love into your kitchen. The journey to crafting your very own homemade cream puffs begins now! They’re more than just a treat; they're a reason to celebrate.
Ingredients for Homemade Cream Puffs
Creating homemade cream puffs begins with the right ingredients, and thankfully, they're pretty straightforward! Here’s a breakdown to make your baking experience smooth and enjoyable.
Essential ingredients for the pâte à choux
To make the perfect choux pastry, you’ll need:
- 1 ¼ cup water
- 1 teaspoon granulated sugar
- ½ teaspoon kosher salt
- ½ cup unsalted butter
- 1 cup all-purpose flour
- 4 large eggs
These ingredients come together to create light, airy shells that are crispy on the outside and tender on the inside.
Ingredients for the whipped cream filling
The rich, fluffy filling is what truly elevates your cream puffs. For a delightful whipped cream filling, gather:
- 2 cups heavy whipping cream
- ½ cup powdered sugar (or granulated sugar)
- 1 teaspoon pure vanilla extract
This simple mix transforms into a cloud-like filling that complements the pastry beautifully.
Special equipment you'll need
While the ingredients are essential, a few tools can make your experience smoother:
- Stand Mixer: Ideal for whipping the cream and mixing the choux dough.
- Cooling Rack: Essential for properly cooling the baked shells.
- Pastry Bag with Tips: A plain tip for piping and a star tip for filling.
With these ingredients and tools at hand, you're well on your way to impressing your friends and family with delightful homemade cream puffs! For more tips on perfecting your pastry skills, check out BBC Good Food for additional recipes and techniques.
Preparing Homemade Cream Puffs
Making homemade cream puffs is a delightful way to impress guests or treat yourself. The process may seem daunting at first, but each step leads you closer to those airy, delicious pastries. Let’s walk through it together!
Preheat the Oven
To kick things off, preheat your oven to 425°F (218ºC) while placing the oven racks in the upper-middle and lower-middle positions. This initial burst of high heat is crucial for achieving that puffiness we all love. As your oven warms up, line two baking sheets with parchment paper to help the puffs lift off easily once baked.
Make the Dough
Next, let’s create the dough, known as pâte à choux. In a large saucepan, combine 1 cup of water, sugar, salt, and butter. Bring it to a rolling boil. Excitedly stir while the butter melts! It creates the perfect base for your puffs. Once the butter is fully melted, turn off the heat and add 1 cup of flour. Stir vigorously until the mixture clumps together, about 4-5 minutes. Watch how it starts to leave a film on the pan!
Cool and Incorporate the Eggs
Now it’s time to cool the dough. Transfer it to a stand mixer and mix on low speed until it cools to about 130°F (54ºC). This step is crucial to avoid curdling the eggs. Gradually add the eggs one at a time, mixing until fully incorporated. You want that shiny and firm dough that holds its shape but isn’t runny. It’s all about the perfect texture!
Pipe the Dough onto the Baking Sheet
With a large plain tip fitted to your piping bag, it’s time to pipe! You can lightly grease the inside of the bag to prevent the dough from sticking. Pipe 2-inch circular mounds onto your baking sheets, keeping them at least 2 inches apart to allow for expansion. If the tops have little peaks, gently smooth them out with a wet finger.
Brush with Egg Wash and Bake
Prepare the egg wash by mixing one egg with a tablespoon of water or milk. Brush the tops of your puffs to achieve a golden finish. Place the baking sheets in the oven without opening the door (the temptation is real)! The gradual baking process will take about 60-70 minutes, turning down the heat as time goes on. You’ll know they’re done when they’re light and dry!
Make the Whipped Cream
While your cream puffs are baking, let’s whip up some luscious cream! In your stand mixer, combine 2 cups of heavy cream, powdered sugar, and vanilla extract. Whip until stiff peaks form—this should be a silky cloud of deliciousness! Keep an eye on it, as overwhipping can lead to a grainy texture.
Fill the Cream Puffs
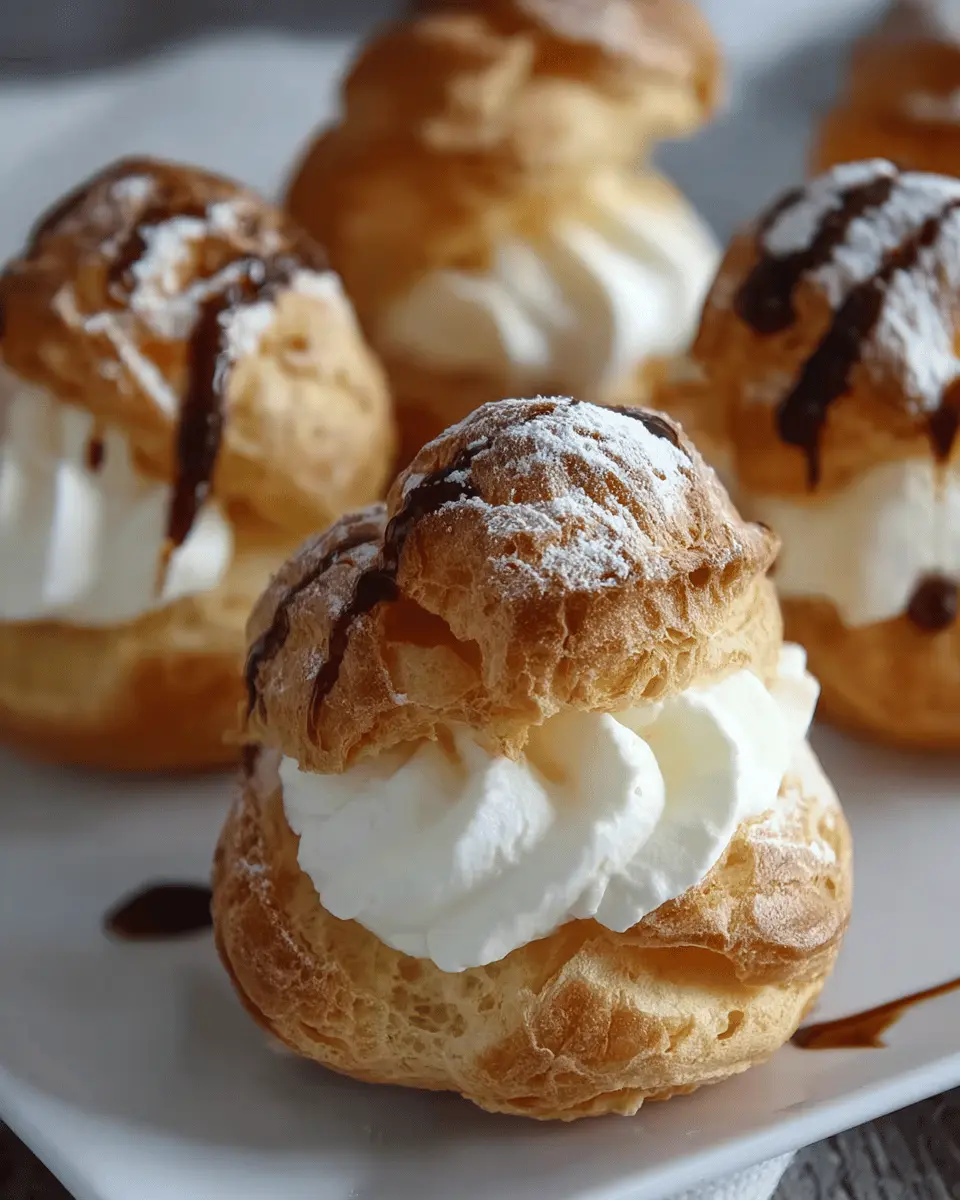
Once your puffs are cool, gently slice them in half. Fill a pastry bag fitted with a star tip with your whipped cream and pipe it into the bases of the puffs. Place the tops back on and finish with a sprinkle of powdered sugar. Your homemade cream puffs are now ready to enjoy! They’re best served fresh, but you can store them in the refrigerator for a few days.
Making homemade cream puffs is a rewarding experience—you'll love the satisfaction of creating something so elegant and tasty. Plus, they’re the perfect conversation starter at any gathering! Enjoy every light and creamy bite!
Variations on Homemade Cream Puffs
Chocolate Cream-Filled Puffs
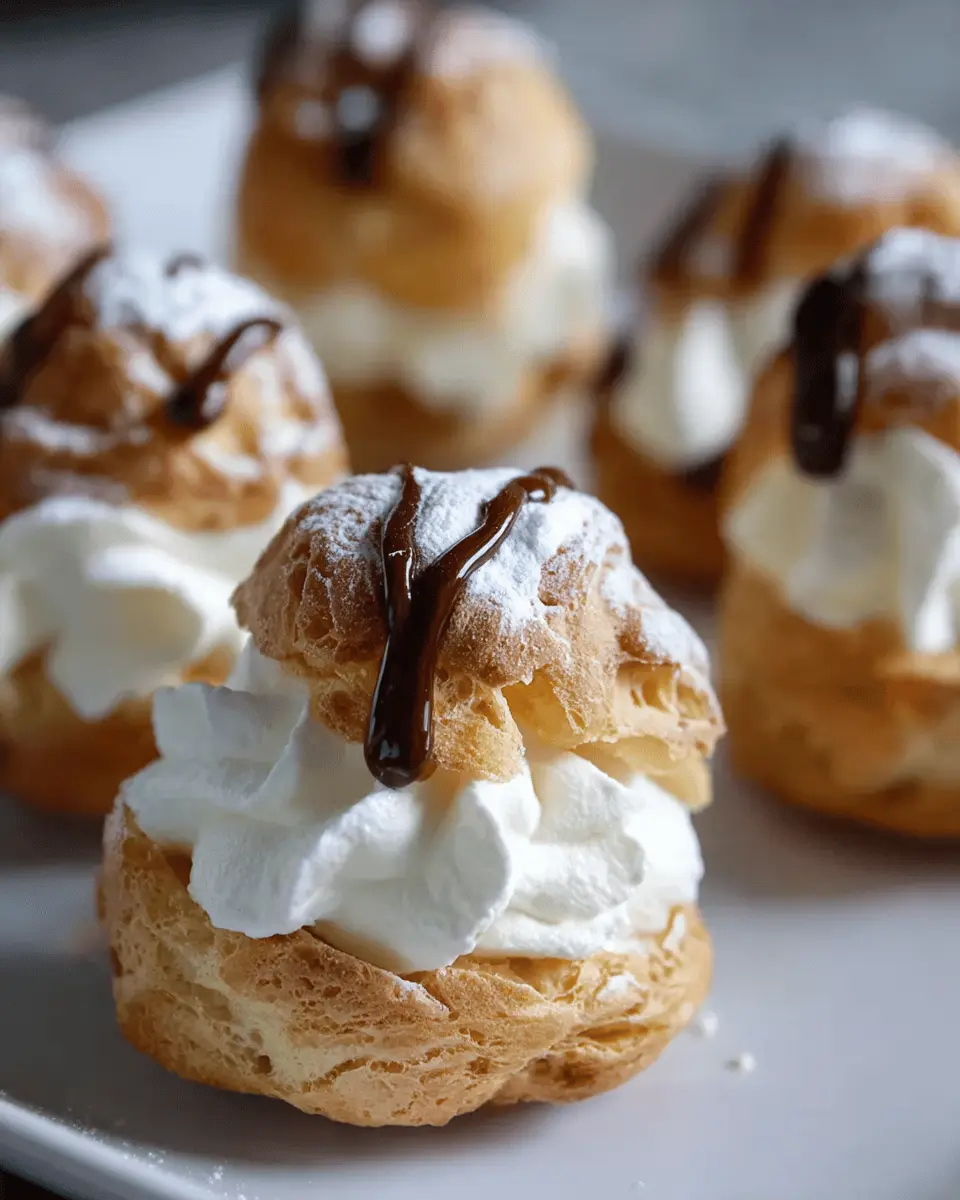
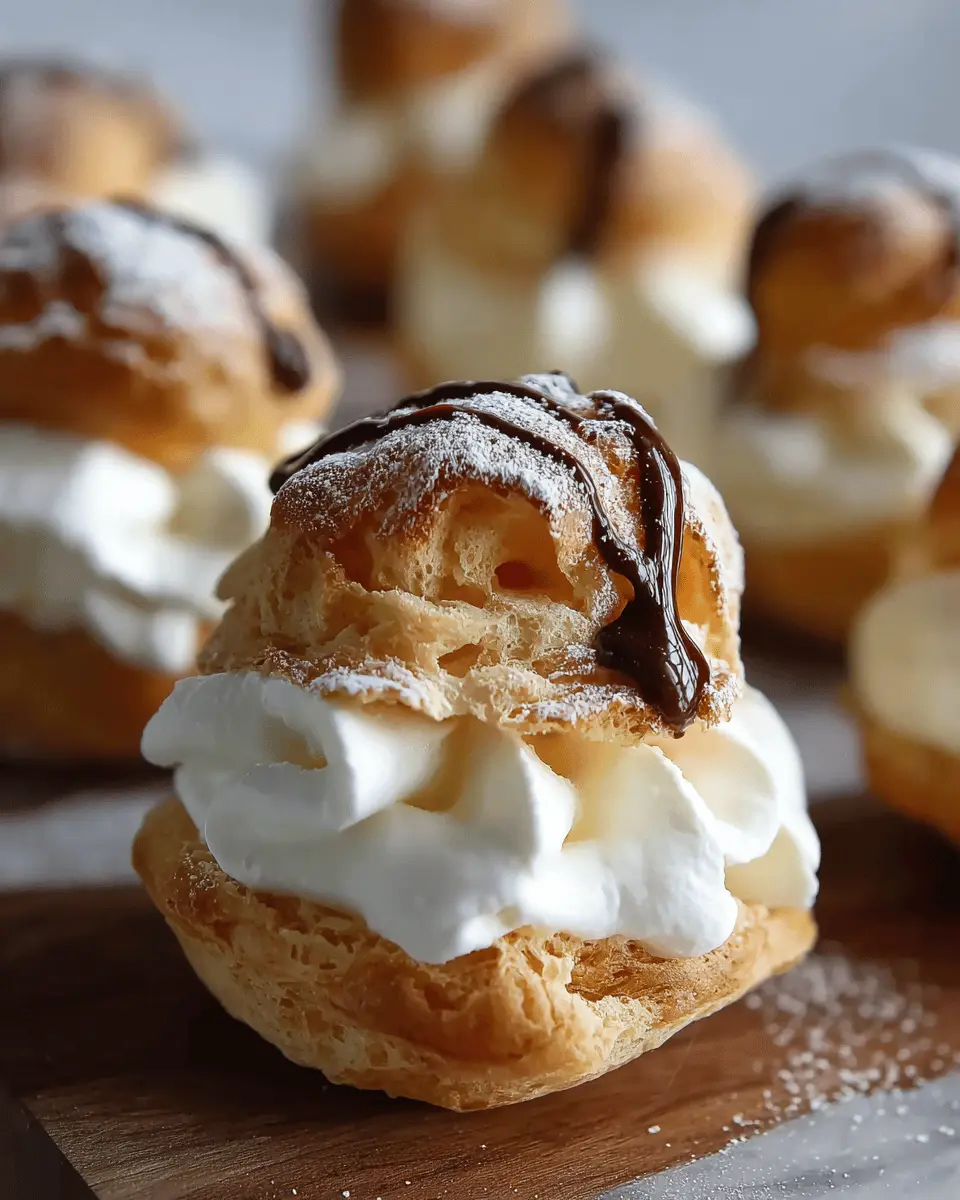
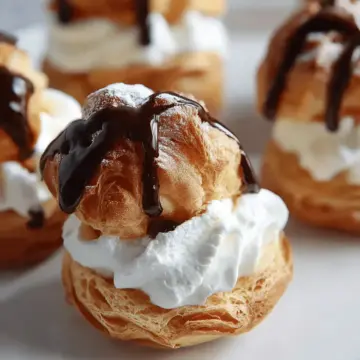
For chocolate lovers, homemade cream puffs can be transformed into a divine treat with a chocolate twist. Simply melt dark or milk chocolate and fold it into your whipped cream before piping it into the pastry. This adds a rich flavor that pairs perfectly with the lightness of the pâte à choux. To take it a step further, drizzle some melted chocolate over the top for an elegant finish. You might also consider checking out this resource on chocolate desserts for inspiration!
Fruit-Flavored Whipped Cream Variations
Why not elevate your cream puffs by infusing the whipped cream with vibrant fruit flavors? Puree fresh strawberries, raspberries, or mangoes, and gently fold them into the whipped cream for a burst of sweetness and color. This not only enhances the visual appeal but also adds a refreshing taste that can brighten up your dessert table. Experiment with different fruits or even a hint of zest for added zing. For more fruity ideas, explore fruit dessert recipes that can take your puffs to new heights.
Baking Notes for Homemade Cream Puffs
Tips for Successful Pâte à Choux
Crafting perfect homemade cream puffs starts with the right technique for making your pâte à choux. Here are a few essential tips:
- Don’t Rush the Dough: Ensure the dough is cooked properly before adding eggs, as this helps achieve that light, airy structure.
- Egg Incorporation: Add eggs one at a time and mix until smooth. If the dough feels too thick, trust your instincts—it should have a glossy finish yet hold its shape when piped.
Storing Unfilled Shells
Once your cream puff shells are baked to golden perfection, you may wonder how to store them.
- Room Temperature: Keep the unfilled shells in an airtight container for up to five days.
- Freezing: Want to enjoy them later? Freeze them for up to a month! Just reheat at 300°F (149°C) to restore that delightful crispness before filling.
These storage tips will ensure your delicious homemade cream puffs maintain their charm! For further guidance on pastry techniques, consider checking out King Arthur Baking.
Serving Suggestions for Homemade Cream Puffs
Perfect Accompaniments for Cream Puffs
When it comes to serving homemade cream puffs, consider pairing them with a delicious dip for added flavor. A rich chocolate sauce or caramel drizzle can elevate their sweetness. Alternatively, serve them alongside fresh berries or a light fruit coulis for a refreshing contrast that beautifully balances the rich cream.
Presentation Ideas
Make your cream puffs as visually appealing as they are tasty! Arrange them on a tiered cake stand for a charming display, or place them in individual dessert cups paired with a dollop of whipped cream. Dust with powdered sugar for an elegant touch, or garnish with mint leaves to add a splash of color. The presentation can make the experience feel more special!
For more inspiration on dessert presentation, check out this guide for creative ideas.
Tips for Making Perfect Homemade Cream Puffs
Baking Tips for Optimal Texture
To achieve those light and airy parfaits, follow a few key steps. First, always preheat your oven properly; a hot oven is crucial for the choux pastry to puff. Secondly, avoid opening the oven door while baking, as this can cause a collapse. Lastly, bake until they are golden brown – a pale shell means they might be gooey inside. For the best results, you can learn more about the science of choux pastry from culinary resources like Serious Eats.
Common Pitfalls to Avoid
When making homemade cream puffs, keep a lookout for these common issues:
- Under-mixing the dough: Ensure the flour is fully incorporated before adding eggs.
- Over-whipping the cream: Whip until just stiff peaks form to avoid turning it into butter.
- Not allowing shells to cool: Fill only once completely cool, which prevents the cream from melting into the pastry.
By following these tips, you'll be well on your way to mastering cream puffs that not only look impressive but also taste divine!
Time Breakdown for Homemade Cream Puffs
Preparation Time
Getting started on your homemade cream puffs takes about 30 minutes. During this stage, you'll gather all your ingredients, make the dough, and prepare for baking. Take your time to measure accurately and follow each step closely; these initial moments set the foundation for perfect cream puffs!
Baking Time
The baking process will take approximately 1 hour and 15 minutes. This might seem lengthy, but it’s crucial for achieving that light, airy texture. Be patient and resist the urge to check the oven too often; opening the door can disrupt the baking process!
Total Time
In total, your homemade cream puffs will require about 1 hour and 45 minutes from start to finish. While this may not be the quickest dessert to prepare, the delicious results will be well worth your time and effort. Plus, making these elegant treats adds a delightful touch to any gathering or celebration!
For more great baking insights, check out Serious Eats to elevate your skills in the kitchen and enhance your baking experiences!
Nutritional Information for Homemade Cream Puffs
Calories per Cream Puff
Each delightful homemade cream puff contains approximately 116 calories. While they may be a treat, enjoying them in moderation can fit nicely into a balanced diet.
Key Nutritional Values
Here’s a quick glance at the key nutrients you get from this sweet indulgence:
- Carbohydrates: 10g
- Protein: 3g
- Fat: 7g
- Saturated Fat: 4g
- Cholesterol: 66mg
- Sodium: 94mg
- Potassium: 28mg
- Fiber: 1g
- Sugar: 4g
For more details on nutrition and health, check out credible sources like the USDA Nutrition Database, where you can explore the benefits of various ingredients used in your favorite desserts!
As you savor your homemade cream puffs, remember they are best enjoyed fresh and can be part of a delightful dessert spread—perfect for impressing friends at your next gathering!
FAQs about Homemade Cream Puffs
How do I know when my cream puffs are done baking?
To ensure your homemade cream puffs are perfectly baked, look for a golden-brown color and a light, airy feel. If you break one open, it should be dry inside and sound hollow. Avoid opening the oven during baking, as this can disrupt the puffing process!
Can I fill cream puffs ahead of time?
While it's tempting to prepare in advance, it's best to fill your cream puffs just before serving for maximum freshness. If you need to fill them ahead of time, you can do so a couple of hours in advance, keeping them in the fridge. Just remember that they may lose some crispness.
How can I make my cream puffs crispier?
To achieve a crunchier texture for your homemade cream puffs, consider storing baked shells in an airtight container at room temperature for up to five days, or freezing them for longer storage. Reheating them in an oven helps restore that lovely crispness before filling!
For more tips and tricks, check out reliable resources such as King Arthur Baking for best practices!
Conclusion on Homemade Cream Puffs
Homemade cream puffs are a delightful treat that combines crispy choux pastry with rich whipped cream, making them an impressive dessert for any occasion. With a little patience and practice, you’ll achieve the perfect puffs that will leave your friends and family yearning for more. Enjoy every creamy bite!
For more dessert inspiration, consider checking out resources like Serious Eats or Joy of Baking for additional recipes and tips.
Homemade Cream Puffs: Easy Indulgence for Sweet Tooth Lovers
Equipment
- Stand Mixer
- Cooling Rack
- Pastry Bag
- Plain Pastry Tip
- Star Pastry Tip
Ingredients
Pâte à Choux
- 1 ¼ cup water, divided
- 1 teaspoon granulated sugar
- ½ teaspoon kosher salt
- ½ cup unsalted butter, cut into 8 slices
- 1 cup all-purpose flour, spoon and leveled
- 4 large eggs
- ¼ cup powdered sugar, for dusting
Egg Wash
- 1 large egg
- 1 tablespoon water, or milk
Whipped Cream (4 cups)
- 2 cups heavy whipping cream, or heavy cream
- ½ cup powdered sugar, or granulated sugar
- 1 teaspoon pure vanilla extract
Instructions
Preparation
- Preheat the Oven - Set the oven racks to upper-middle and lower-middle positions. Preheat to 425°F (218ºC). Line two sheet pans with parchment paper and set them aside.
- Make the Dough - In a large heavy-bottomed saucepan, add 1 cup of water, sugar, salt, and butter. Bring to a boil over medium-high heat and stir until the butter fully melts, about 2 minutes.
- Cool the Dough - Transfer the dough to a bowl of a stand mixer fitted with a paddle. Slowly stir on low speed (setting 2) to cool to 130°F (54ºC) or just below, about 2 to 3 minutes.
- Add the Eggs in Stages - Add eggs one at a time, mixing on medium-low speed (setting 4) until each egg is fully incorporated, about 30 to 45 seconds per egg.
- Piping the Dough - Add a large plain tip to a piping bag (Ateco 806). Option to lightly grease the inside of the pastry bag with cooking spray. Add the dough to the pastry bag. Pipe onto the sheet pan, creating a 2-inch circular ball.
- Brush on Egg Wash - In a small bowl, whisk together one egg and 1 tablespoon of water. Brush the tops and sides of each dough ball with the egg wash.
- Gradual Baking Process - Place the sheet trays in the oven. Bake for 10 minutes at each temperature setting: 425°F (218ºC), 375°F (191ºC), 325°F (163ºC), 275°F (135ºC), 225°F (107ºC), 200°F (93ºC).
- Make the Whipped Cream - In a stand mixer fitted with the whisk attachment, add heavy cream, powdered sugar, and 1 teaspoon vanilla extract to the bowl. Whip until smooth, stiff peaks form.
- Piping the Cream - Working in batches, add the whipped cream to a pastry bag fitted with a large star tip (Ateco 824). Cut the shells in half to create a top and bottom. Evenly pipe the whipped cream into the pastry bottoms.
- Top with Sugar - Sprinkle powdered sugar on top of each cream puff. Serve immediately, or refrigerate if not eating within one hour.

Leave a Reply